A picture is worth a thousand words. In eCommerce, it could be worth thousands of dollars.
For clothing brands, print-on-demand sellers, and independent designers, high-quality t-shirt images can make or break sales. Customers can’t touch the fabric, feel the texture, or try it on. They rely entirely on the visual presentation to decide whether to buy.
According to a Shopify report, high-quality product photos can increase conversions by up to 30%. Another study from Etsy found that 90% of buyers say image quality is the most important factor when shopping online. If your t-shirt images look cheap, unprofessional, or unclear, you’re leaving money on the table.
This guide will show you how to take stunning t-shirt product photos—from DIY budget setups to advanced studio techniques. Whether you’re shooting for Amazon, Etsy, Shopify, or social media, these ideas will help you create compelling, high-converting visuals that elevate your brand.
And if you need expert photo retouching and background removal, Pixel Retouching can perfect your images for a polished, professional finish.
Preparing for a Perfect T-Shirt Shoot
1. Get the T-Shirt Ready: No Wrinkles, No Imperfections
A poorly presented t-shirt will never look good in photos, no matter how expensive your camera is. Always prep the shirt before shooting.
- Iron or steam to remove wrinkles. Even tiny creases can ruin a clean look.
- Use a lint roller to get rid of dust, pet hair, or small fibers.
- If the shirt has been folded, lightly stretch it to remove visible fold lines.
- For thin fabrics, insert a piece of cardboard inside the shirt to prevent it from looking saggy.
Even in professional studios, photo retouching is always required to clean up wrinkles, correct colors, and remove distractions. That’s why eCommerce brands rely on expert editing services like Pixel Retouching to fine-tune their images before publishing.
2. Lighting: The Secret to Professional-Looking Photos
Lighting is the single most important factor in product photography. Even with an iPhone, the right lighting can make your photos look studio-quality.
Best Lighting for T-Shirt Photography
| Lighting Type | Pros | Cons |
| Natural Light (Window light) | Soft, even, free | Can be inconsistent |
| Softbox Lighting | Professional, controlled | Requires equipment |
| Ring Light | Great for social media | Can create unwanted reflections |
| LED Panels | Adjustable, consistent | Higher initial cost |
For budget setups, a window-facing table with indirect sunlight is often enough. Position the t-shirt parallel to the light source to avoid harsh shadows.
If you’re using artificial lighting, softbox kits or LED panels provide even, diffused lighting that eliminates shadows and enhances fabric textures.
Pro Tip: Avoid using your camera’s built-in flash. It creates harsh shadows and unnatural highlights, making the fabric look flat.
3. Choosing the Right Background: White, Lifestyle, or Creative?
The right background depends on your brand’s aesthetic and platform requirements.
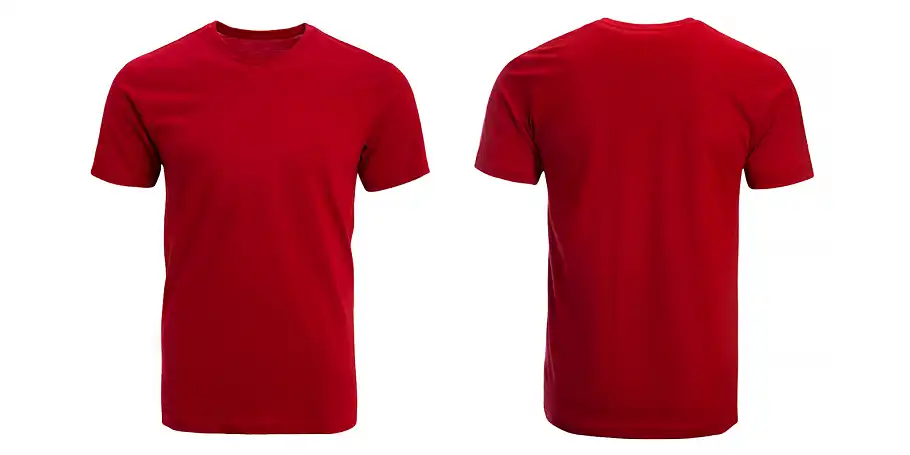
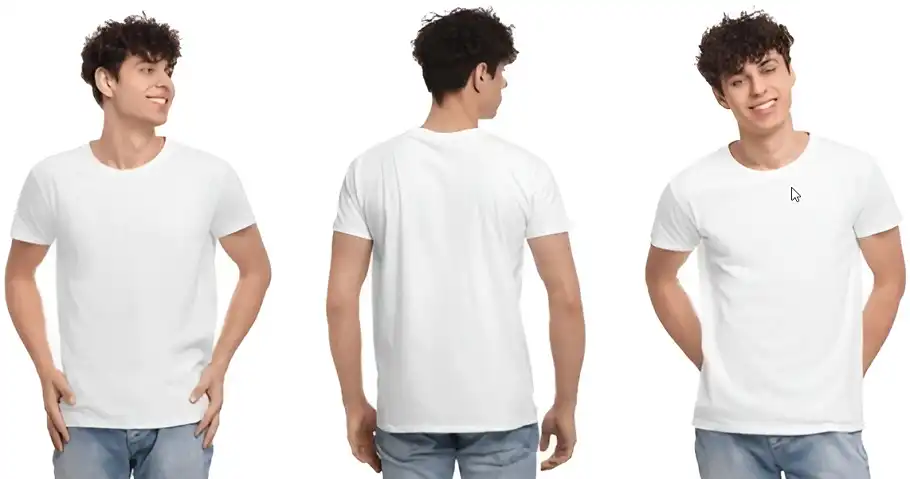
- White Background: Perfect for Amazon, eCommerce stores, and clean, distraction-free product pages.
- Lifestyle Backgrounds: Helps tell a story, such as a model wearing the t-shirt in an urban or outdoor setting.
- Textured or Themed Backgrounds: Ideal for streetwear, vintage, or niche brands looking for aesthetic appeal.
A white background is always a safe choice. It keeps the focus on the product and meets most eCommerce guidelines (Amazon, eBay, and Etsy require a pure white (#FFFFFF) background for main images).
If you need background removal or replacements, Pixel Retouching can make your images look crisp and professional without spending hours in Photoshop.
Essential Equipment & Camera Settings for T-Shirt Photography
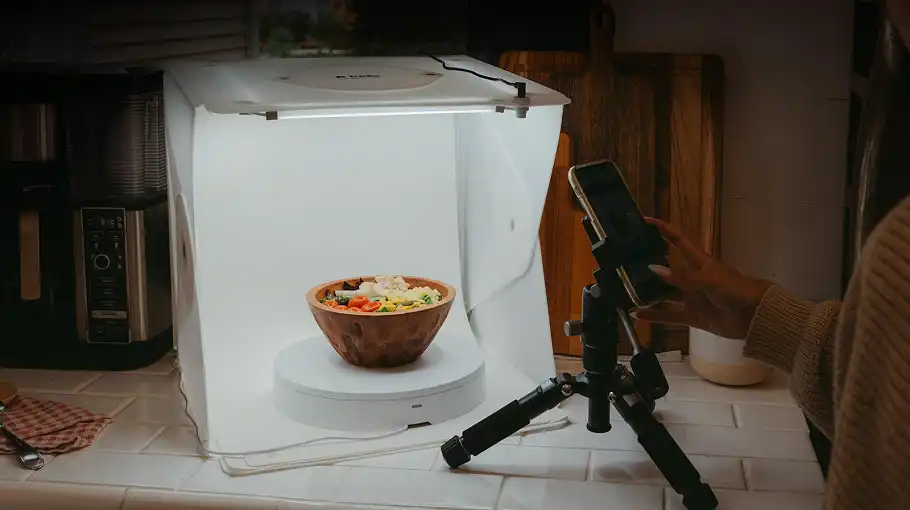
You don’t need a $5,000 DSLR to take professional product photos. A good smartphone with a high-resolution camera can work—if you use the right setup.
1. Camera Choices: Smartphone vs. Professional Gear
| Camera Type | Best For | Price Range |
| Smartphones (iPhone 13+, Samsung S22+) | Social media, quick shoots | $500-$1,200 |
| DSLR/Mirrorless (Canon EOS R, Sony A7III) | High-end product photography | $1,500-$3,000 |
| Point-and-Shoot (Sony RX100, Canon G7X) | Compact, travel-friendly | $500-$900 |
For eCommerce and professional branding, a DSLR or mirrorless camera with a 50mm or 85mm lens gives the best sharpness and depth.
If you’re using a smartphone, enable portrait mode for a natural depth effect. Use a tripod to keep the shot stable and avoid blurry images.
2. Camera Settings for the Best Results
Even with a good camera, the wrong settings can ruin your photos. Use these ideal settings for sharp, high-quality t-shirt images:
- Aperture: f/8 to f/11 for sharp details.
- ISO: Keep it between 100-200 to prevent grainy images.
- Shutter Speed: 1/100s or faster to avoid motion blur.
- White Balance: Set manually or use Auto White Balance (AWB).
If you’re unsure how to tweak camera settings, shoot in Auto Mode, then edit the images later for brightness, sharpness, and color accuracy.
T-Shirt Product Photography Ideas: Standout Techniques
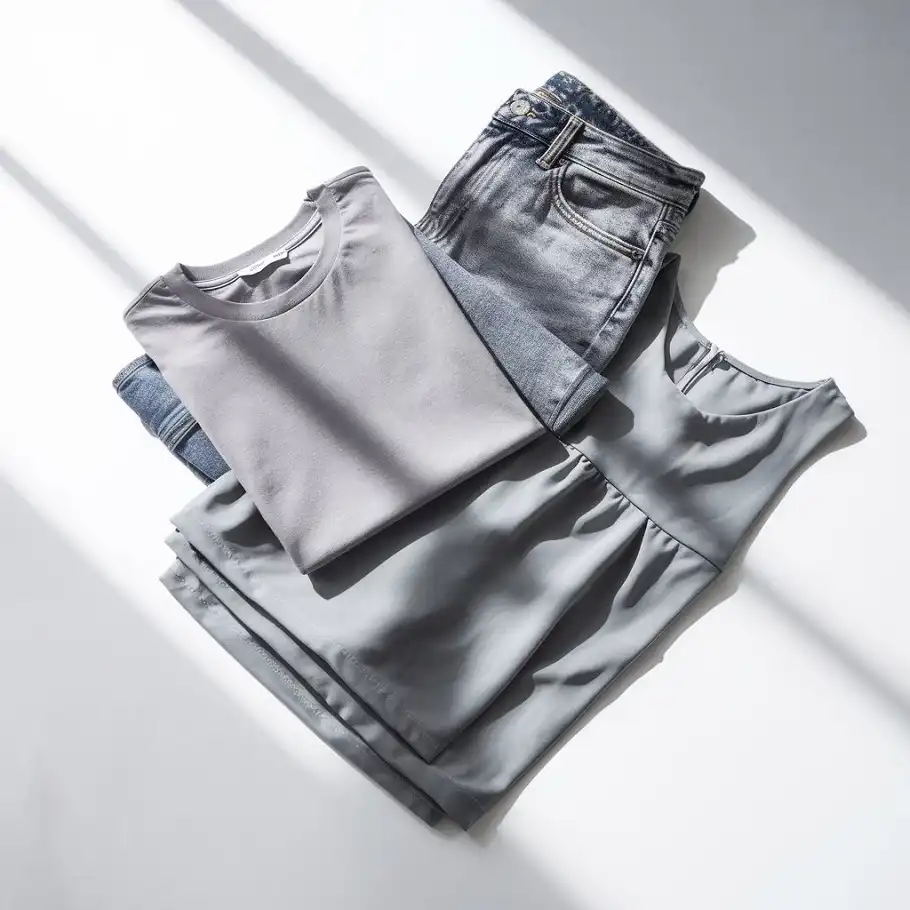
1. Flat Lay Photography: Clean, Minimalist, & Trendy
Flat lay photography is one of the easiest and most effective ways to showcase t-shirts. It’s simple—lay the t-shirt on a clean, well-lit surface and shoot from above.
To make the flat lay more dynamic:
- Add props like sunglasses, shoes, or a denim jacket to suggest styling ideas.
- Use a slight fold or tuck to make the fabric look more natural.
- Place small accessories (rings, necklaces) for added visual interest.
Avoid messy, uneven layouts. The shirt should be symmetrically placed, with the neckline and sleeves properly adjusted.
2. Mannequin Photography: The Ghost Effect for Professional E-Commerce Images
Using a mannequin helps show the natural fit of the t-shirt without hiring a model. The ghost mannequin technique (where the mannequin is edited out in Photoshop) makes the t-shirt appear as if it’s floating.
This is a standard approach for fashion brands like Nike, Adidas, and ASOS because it provides a 3D effect, making the fabric and fit more appealing.
If you don’t have a mannequin, use a hanger against a white background as an alternative.
Model Photography: Bringing Your T-Shirts to Life
Using a real person in your t-shirt product photos creates an emotional connection with buyers. It allows them to imagine themselves wearing the shirt, which boosts engagement and sales.
1. How to Choose the Right Model
You don’t need professional models—friends, employees, or even yourself can work if styled properly. The key is to choose models that reflect your target audience.
- Selling streetwear? Pick a model with an edgy, urban look.
- Designing minimalist t-shirts? Go for a clean, simple aesthetic.
- Catering to sports fans? Choose a fit, athletic model.
Make sure the model is comfortable and natural. Overly stiff or awkward poses can make the images look forced and unappealing.
2. Best Poses for T-Shirt Photography
Posing should feel authentic and effortless. Avoid stiff, formal postures—go for relaxed, natural stances instead.
Top Model Poses for T-Shirt Photography:
- Straight-on stance – Simple, clean, and perfect for main product images.
- Casual movement – Walking, adjusting the hem, or looking away for a candid feel.
- Half-turned – Shows the side profile and adds variety.
- Back shot – Essential if your t-shirt has back designs or branding.
- Interaction with props – Holding a skateboard, coffee cup, or bag for a lifestyle vibe.
Lighting is crucial in model photography. Use soft, even lighting to avoid harsh shadows on the face and fabric.
For high-end apparel brands, Pixel Retouching can smooth skin, refine lighting, and enhance fabric details, giving your model shots a professional, polished finish.
Creative Photography Ideas to Make Your T-Shirts Stand Out
1. Lifestyle Shots: Sell the Experience, Not Just the Product
Lifestyle images tell a story. Instead of a plain t-shirt on a white background, show it in action—worn by a model at a coffee shop, a skate park, or a music festival.
These images create a mood and help customers visualize how and where they’d wear your shirt.
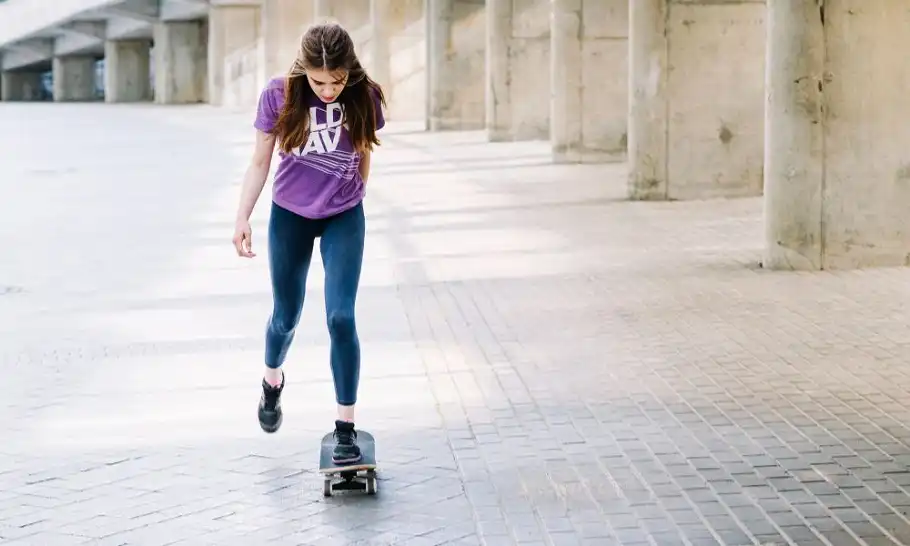
Example: A beach-themed t-shirt brand can shoot models walking along the shore, holding a surfboard, or chilling on the sand. This makes the product feel aspirational and lifestyle-driven, leading to higher engagement.
2. Motion Photography: Add Energy to Your Shots
A standing pose is great, but movement makes your photos feel more dynamic.
Try capturing motion like:
- A model jumping mid-air in the t-shirt.
- Someone spinning or flipping their hair.
- A casual walk-and-smile shot.
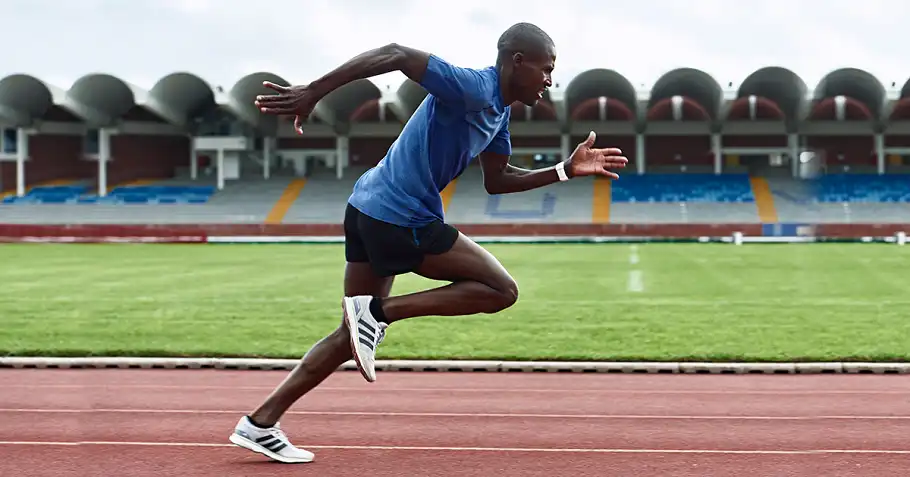
Motion shots work well for activewear and casual brands that target younger, energetic customers.
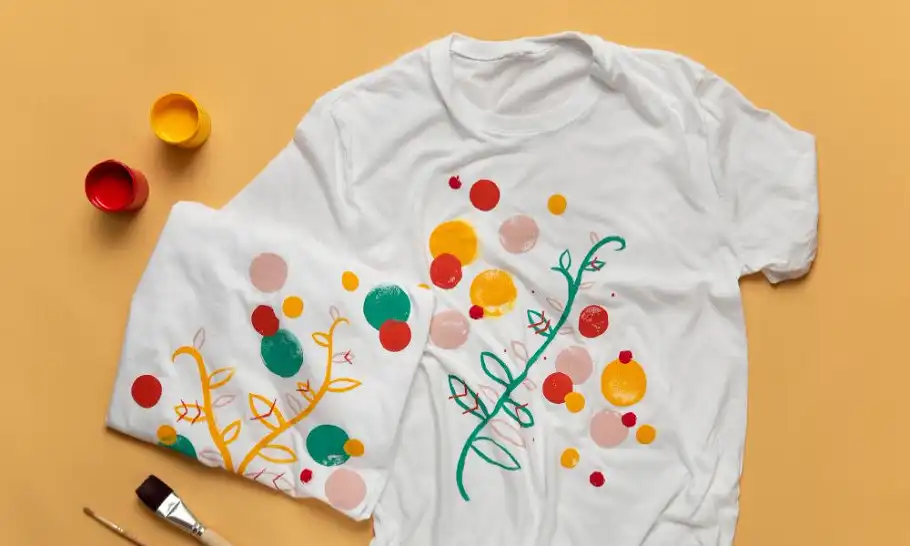
3. Folded & Packaged Presentation: Great for Online Stores
A neatly folded t-shirt conveys quality and attention to detail. This style is ideal for:
- Premium brands that want to showcase luxury packaging.
- Subscription boxes featuring neatly packed apparel.
- Minimalist brands using clean, aesthetic product shots.
To enhance the look, use soft shadows, high contrast, and sharp detail enhancements in editing.
Need perfect fold-line correction and texture enhancements? Pixel Retouching can refine every detail so your shirts look flawless.
Editing & Post-Production: Perfecting Your T-Shirt Photos
Even the best photography needs editing to correct colors, remove distractions, and enhance clarity.
1. Essential Edits for T-Shirt Product Photos
| Edit Type | Purpose |
| Background Removal | Create a clean, distraction-free background (ideal for eCommerce). |
| Color Correction | Ensure the t-shirt color is accurate in photos. |
| Wrinkle Removal | Clean up fabric for a smooth look. |
| Brightness & Contrast | Make details stand out clearly. |
| Skin Retouching | If using a model, smooth skin naturally. |
Most big brands use professional retouching services to refine their images before posting. Pixel Retouching offers expert-level product photo editing, ensuring your t-shirts look pristine, sharp, and high-converting.
Bottom Line: Turning Photos into Sales
Great t-shirt photography isn’t just about taking pictures—it’s about telling a story, building a brand, and driving sales.
Here’s a recap of what we covered:
- Prepping the t-shirt properly to remove wrinkles and imperfections.
- Using the right lighting and backgrounds for a professional look.
- Choosing between flat lays, mannequin shots, and model photography based on your brand’s style.
- Applying creative techniques like lifestyle, motion, and packaged shots.
Editing images for eCommerce and social media optimization.
If you want to elevate your product images, professional retouching can make a huge difference.
Why Choose Pixel Retouching?
- Expert background removal for eCommerce-ready images.
- Flawless wrinkle removal & color correction to make products pop.
- Fast delivery & affordable pricing for businesses of all sizes.
Ready to make your t-shirt images look high-end and irresistible? Visit Pixel Retouching and take your product photography to the next level!