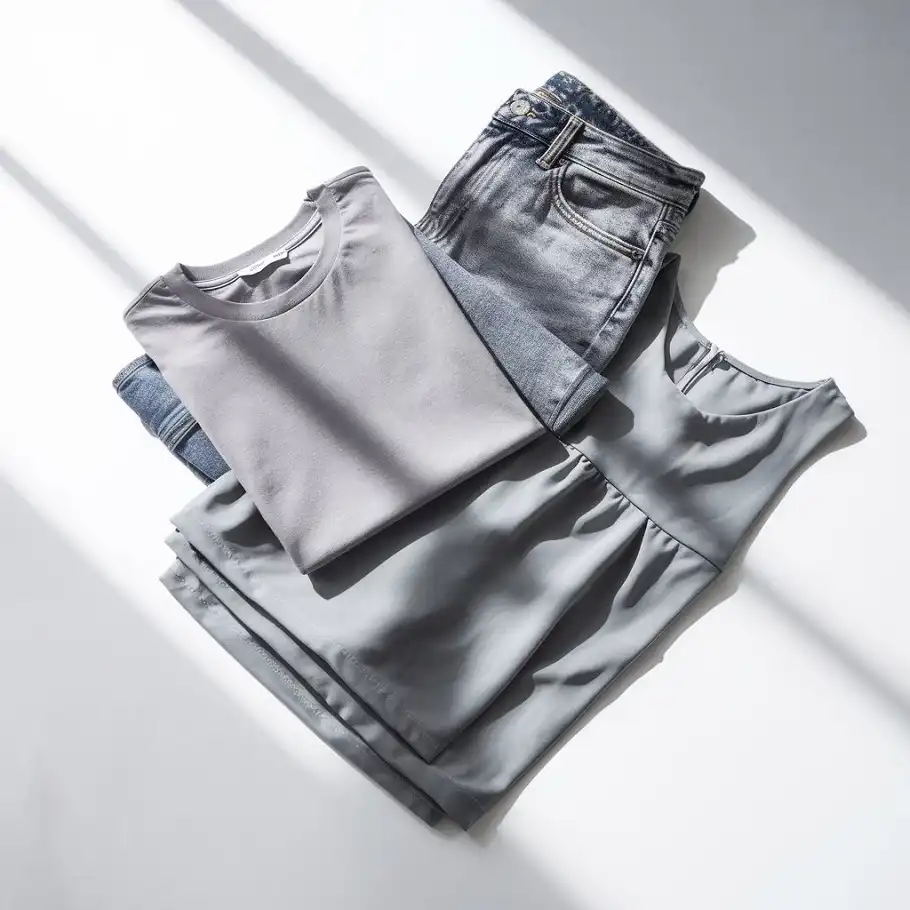
Product visuals are one of the most powerful tools you can use to engage your customers. With the rise of online shopping, customers now demand to experience products as if they were in a physical store. This is where 360-degree product photography comes in.
What is 360-Degree Product Photography?
360-degree product photography allows your customers to view a product from every angle, providing a more complete, interactive experience. By rotating the product and capturing multiple images from different positions, you create a seamless view that users can explore online. This type of photography gives customers a virtual, in-store inspection that traditional images simply can’t match.
How It Works
The process is simple but requires precision. A product is placed on a rotating turntable, while the camera captures several images from different angles. These images are then stitched together using specialized software to create a dynamic, interactive 360-degree view. The result? A visual experience where customers can virtually rotate the product and inspect it from any angle they choose.
The ultimate goal of 360-degree product photography is to make online shopping feel as real and engaging as shopping in a store. It removes uncertainty, boosts customer confidence, and enhances the overall shopping experience.
Benefits of 360-Degree Product Photography
When done right, 360-degree photography can transform your eCommerce business. Let’s explore some of its most impactful benefits.
Enhanced Customer Engagement
One of the main reasons 360-degree product photography has become so popular is the interactive experience it offers. Instead of just looking at static images, customers can explore products in real-time. This interaction increases the time they spend on your product pages, leading to a stronger emotional connection with your brand.
Boosted Sales & Conversions
Studies show that products with 360-degree views have higher conversion rates. Shoppers feel more confident when they can closely examine a product from every angle. In fact, eCommerce sites with 360-degree product views report up to a 30% increase in sales. This is because customers trust the product more, knowing they can see every detail before making a purchase.
Decreased Product Returns
One of the biggest challenges for online retailers is product returns. 360-degree photography helps reduce returns by giving customers a clearer view of the product. When they can see it from all angles and understand its features, they’re more likely to make informed decisions, which results in fewer returns.
Confidence in Purchase Decisions
As customers get a comprehensive view of a product, they are less likely to be disappointed once it arrives. Transparency in product imagery leads to confidence in the purchase decision, as customers feel they already know exactly what to expect.
Improved Brand Image
High-quality 360-degree imagery reflects a modern, professional brand image. When you invest in top-notch product photography, it shows customers that you care about their experience. It demonstrates that you’re willing to go the extra mile to provide them with the best shopping experience possible.
Key Equipment for Setting Up 360 Product Photography
To create stunning 360-degree product images, you need the right equipment. Let’s break down the key components you’ll need for an effective setup.
Cameras and Lenses
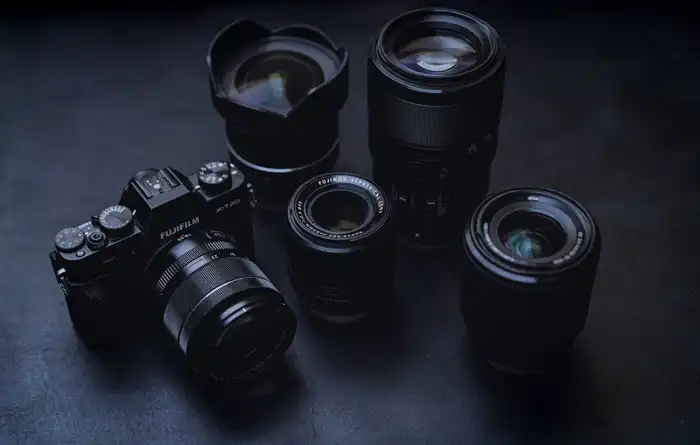
- DSLR/Mirrorless Cameras: These cameras are essential for high-quality 360-degree product photography. They offer high-resolution images and manual settings that allow for precise control over the shot.
- Wide-Angle Lenses: A wide-angle lens helps you capture the entire product without distortion. It’s important to use a lens that allows you to photograph the product from a broader angle, ensuring every detail is visible.
Turntables
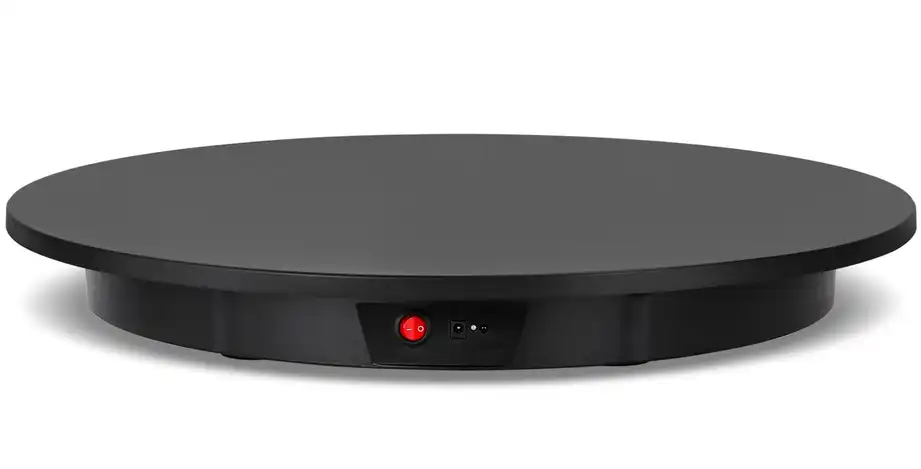
The turntable is the heart of your 360-degree photography setup. It rotates the product smoothly, ensuring you get consistent shots from multiple angles.
- Manual Turntables: While affordable, these require manual rotation and may not provide as much precision. They are fine for personal use or small-scale projects, but they may not deliver the level of consistency needed for professional shoots.
- Motorized Turntables: These turntables rotate automatically, providing smoother and more consistent rotations. Examples include Foldio360 and Pre-Motion Electric Turntables. These are ideal for high-volume or professional shoots.
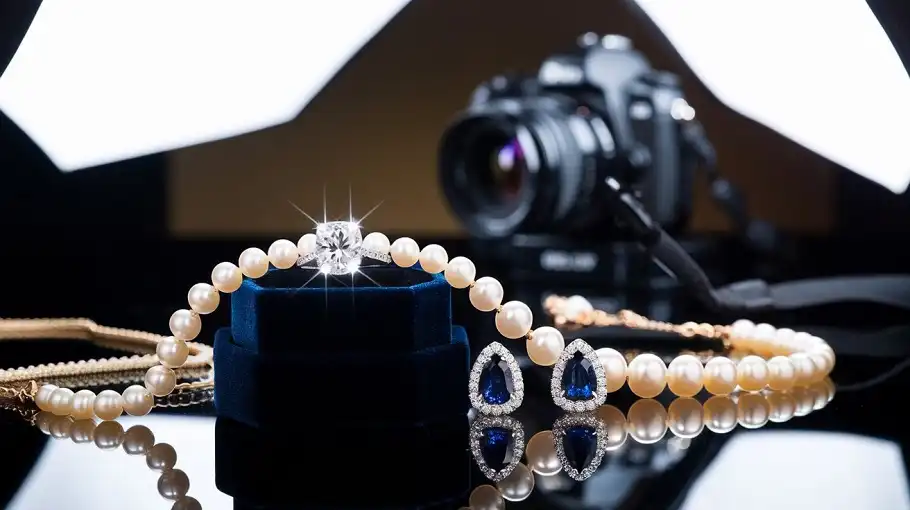
- Rotary Plates with Transparent Glass: These are perfect for capturing shots underneath the product. This is especially useful for jewelry or products with intricate designs that need to be seen from all angles.
Lighting Equipment

Lighting plays a crucial role in 360-degree photography, as it ensures your product is clearly visible from every angle.
- Softboxes & LED Panels: Softboxes create diffused lighting that helps eliminate harsh shadows and highlights.
- Reflectors & Flags: These tools shape the light to eliminate unwanted shadows and create a more even lighting setup.
- Halo Lights: These focus on illuminating the edges of the product, adding clarity and making details stand out.
Tripod and Camera Stabilization
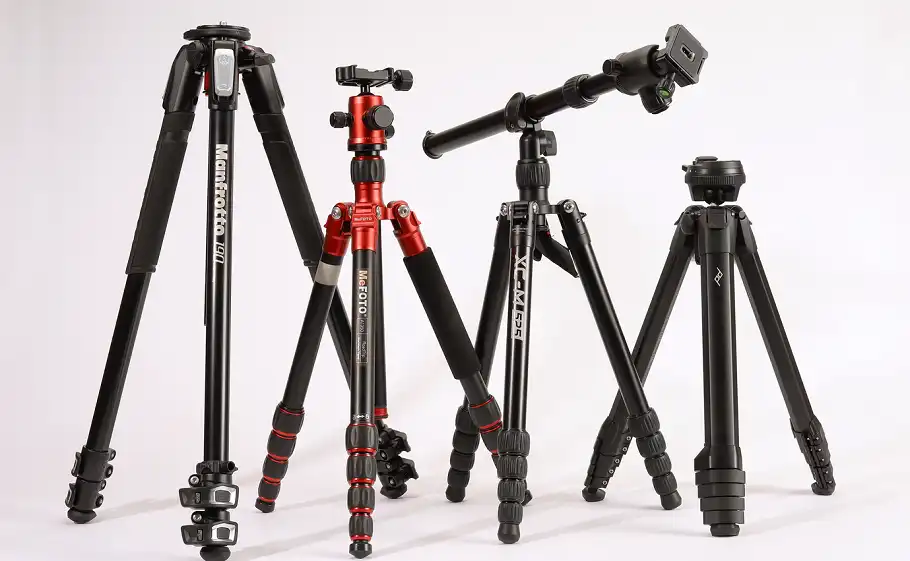
To capture smooth, consistent shots, a tripod is essential. It stabilizes the camera, ensuring there’s no shake between shots and the product remains in the same position.
Setting Up Your Studio for 360-Degree Photography
Creating a professional 360-degree product photography studio doesn’t have to be complicated, but it requires careful setup. Here’s how to make sure everything is aligned for the best results.
Choosing the Right Space
It’s important to choose a quiet, controlled environment for your setup. Minimize traffic and ensure there are no distractions in the background. A dark room or one with minimal ambient light works best for controlling your lighting setup and avoiding inconsistencies.
Background & Surface Preparation
- Seamless Background: A clean, neutral-colored backdrop (like white or gray) ensures that the product is the focal point and doesn’t compete with a busy background.
- Turntable Placement: Your turntable should be centered and placed on a level surface. A tilted turntable can distort the rotation and lead to inconsistent shots.
Lighting Setup
- Soft, Diffused Lighting: Position your lights at a 45-degree angle to the product to create even, diffused lighting. This ensures there are no harsh shadows and that the entire product is illuminated evenly.
- Lighting Control: Use light modifiers like softboxes, grids, and barn doors to control the direction of the light. This helps shape the light and minimizes the chance of harsh shadows.
How to Use a Turntable for 360-Degree Product Photography
Once your space is set up and your lighting is perfect, it’s time to use the turntable and start shooting. Here’s how to get the most out of your turntable.
Manual vs. Motorized Turntables
- Manual Turntables: These are less expensive and may be fine for small-scale shoots. However, they require more effort, as you’ll need to manually rotate the product and ensure it stays in alignment. For consistent results, it’s crucial to rotate the product in small, equal increments.
- Motorized Turntables: These are ideal for larger, high-volume shoots. They offer precision and smooth automation. The motorized turntable ensures that the product rotates consistently, providing better results for professional shoots.
Turntable Rotation and Camera Control
- Small Increments: To capture smooth transitions, rotate the product in small, uniform steps (typically around 10-15 degrees per rotation).
- Consistent Angles: Make sure your camera is fixed at the same distance and angle from the product. This ensures that the product appears consistent in each shot and maintains a uniform appearance across the 360-degree view.
Post-Processing and Editing
Once you have captured all the necessary shots, the real magic happens in post-processing. This step ensures that your 360-degree images are polished, ready to present your product in the best possible light.
Organizing Photos
The first step in post-processing is to organize your photos effectively. When you shoot multiple frames of a product from different angles, it’s easy to lose track of the files. Use folders or software to keep everything in order. It might seem simple, but a well-organized workflow can save hours in the editing process.
Basic Editing
The basic editing process focuses on cleaning up your images and correcting any obvious issues. The most common edits involve background removal. You want the product to stand out, so eliminate distractions. In most cases, a clean, neutral-colored background (white or gray) works best.
Additionally, you may need to adjust the exposure and white balance to ensure the product looks as natural and accurate as possible. Any photo discrepancies such as too-bright or too-dark areas can be fixed during this phase.
Advanced Editing
Once your basic editing is complete, it’s time for more advanced edits to stitch the images together into a cohesive 360-degree view. Stitching and alignment can be a challenge, but the right software can make the process seamless. Programs like PTGui or Autopano Giga are great for aligning and combining individual images into one unified 360-degree view.
During this step, you’ll also focus on cleaning up any imperfections in the product. Small issues like dust or unwanted reflections on the product can be eliminated using retouching techniques, ensuring the final image is flawless. It’s important to note that while Pixel Retouching offers a full suite of professional retouching services, handling this process yourself might not always produce the best results if you’re looking for a polished, high-end finish.
Optimizing for the Web
After all the edits, it’s crucial to optimize your images for fast online performance. Large, high-resolution images can slow down your website, leading to a poor user experience. You’ll need to compress your 360-degree images to a web-friendly size without sacrificing quality. Tools like TinyPNG or ImageOptim can help you maintain image clarity while reducing file size.
Software Solutions for 360 Product Photography
Using the right software can streamline your 360-degree product photography workflow. Various tools automate tasks like image capture, rotation, and stitching, allowing you to focus on other aspects of your business.
Shutter Stream 360
Shutter Stream 360 is one of the most popular tools for automating the image capture and turntable rotation process. With this software, you can easily create high-quality 360-degree product views by integrating it with your motorized turntable setup. The software also allows you to batch process images, significantly improving efficiency.
Foldio360 App
If you’re using the Foldio360 turntable, the Foldio360 app is an excellent option. This app integrates seamlessly with the Foldio360 turntable to capture and stitch images automatically. The app’s ease of use makes it a favorite for both beginners and seasoned photographers.
SPINZAM & WebRotate
For creating interactive 360-degree views, SPINZAM and WebRotate are two solid software options. They offer a variety of features, including the ability to embed the final images into your website. These tools make it easy to share your 360-degree product images with customers, enhancing their shopping experience.
Many 360-degree photography software solutions come with integrated editing suites. These suites allow you to make final tweaks like background removal, color corrections, and even add lighting enhancements directly in the software. This integration saves you time and effort when compared to using separate tools for each task.
Manual vs. Motorized Turntables for 360-Degree Photography
The type of turntable you use will have a significant impact on the quality and efficiency of your 360-degree product photography. Here’s a breakdown of the pros and cons of manual vs. motorized turntables.
Manual Turntables
Pros:
Manual turntables are generally more affordable. They’re simple to use and don’t require much setup. They are ideal for photographers just getting started or those working with smaller-scale projects. You control the rotation speed and angle, which offers flexibility in how you capture the product.
Cons:
The major drawback of manual turntables is that they lack consistency. If you’re shooting a large number of products or need precise rotations, it can be difficult to achieve the same result every time. Additionally, you need to be more hands-on, which can slow down the process.
Motorized Turntables
Pros:
Motorized turntables, on the other hand, offer a level of automation that saves time and ensures consistency. These turntables rotate the product automatically, so you don’t have to manually adjust it for each shot. This consistency is key for creating smooth 360-degree rotations. Motorized turntables are particularly useful for high-volume shoots or professional photographers looking to speed up their workflow.
Cons:
The main downside of motorized turntables is the initial cost. They are typically more expensive than manual models. However, the increased speed and accuracy can make the investment worthwhile, especially if you’re running an e-commerce business or shooting multiple products daily.
Optimizing Workflow for Efficiency
Efficiency is the name of the game when it comes to 360-degree product photography. The faster and smoother your process, the more products you can shoot and the more content you can produce.
Automation
One of the easiest ways to streamline your workflow is through automation. Use software that integrates directly with motorized turntables. This allows you to set the camera and turntable to work together, automating both the rotation and the image capture. This is particularly helpful for those managing large product catalogs and aiming for speed without sacrificing quality.
Batch Processing
Once you’ve captured your images, batch processing is a great way to save time during editing. Most photo editing software allows you to apply settings or adjustments to multiple images at once. This means you can crop, adjust exposure, or even apply basic edits across all your images in one go, rather than individually.
Pre-Cropping
Another time-saving tip is pre-cropping your images before you start the editing process. This saves you from making the same adjustments multiple times. By setting crop areas in advance, you can eliminate extra steps in post-production, making the entire process more efficient.
Best Practices for Stunning 360-Degree Product Images
To ensure your 360-degree product images stand out and provide the best possible online shopping experience, keep these best practices in mind.
High-Quality Equipment
The quality of your cameras, lenses, and lighting plays a crucial role in the final outcome. Investing in high-quality equipment ensures you capture sharp, detailed images that will translate into a professional-looking 360-degree product view.
Consistent Setup
Your equipment, lighting, and product must remain in consistent positions for every shot. Small changes in angle or lighting can create visible inconsistencies, which can ruin the seamless effect of the 360-degree view.
Product Cleanliness
Before capturing images, ensure the product is clean. Dust, fingerprints, or smudges will show up clearly, especially when shooting at high resolutions. Cleaning your product ensures that the final images are as professional and polished as possible.
Test Your Setup
Always test your 360-degree setup before beginning the final shoot. Take a few practice shots and preview the 360-degree view to ensure smooth transitions and consistent lighting.
Bottom Line
360-degree product photography is a powerful tool that can enhance your eCommerce listings, improve customer engagement, and increase sales. It gives potential customers the ability to interact with products as if they were in a physical store. While it can be time-consuming, the benefits far outweigh the investment. From boosting conversions to reducing product returns, a well-executed 360-degree image can make a significant difference in your online business.
If you’re looking for professional editing and post-processing to take your 360-degree images to the next level, Pixel Retouching is here to help. Our team of experts can ensure your product images look flawless, with enhanced details and polished finishes. Whether you need background removal, retouching, or final image optimization, we provide the high-quality service you need to impress your customers.