High-quality clothing photos are the backbone of online fashion sales. A report from Shopify states that 75% of consumers rely on product images before making a purchase. Good visuals don’t just attract buyers—they build trust, reduce returns, and boost conversion rates.
But do you really need a mannequin to take professional clothing photos? Not at all.
Many brands prefer mannequin-free photography because it offers:
- Cost savings – No need to buy or rent mannequins.
- More styling flexibility – You can experiment with different layouts.
- Better focus on the fabric & design – No mannequin distractions.
- Easier editing & post-processing – No need to remove the mannequin later.
So, how do you get stunning mannequin-free clothing photos? Let’s explore four highly effective methods and the best practices for professional results.
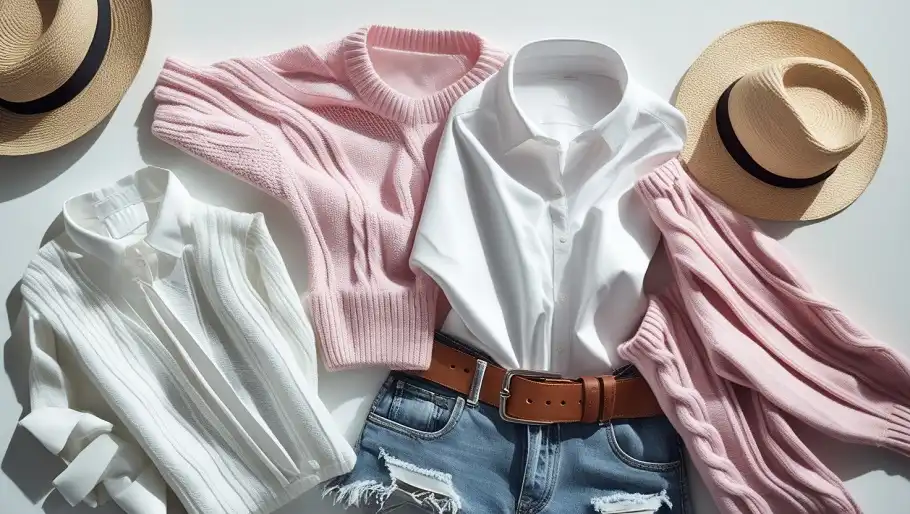
Flat Lay Photography: A Minimalist & Stylish Approach
What is Flat Lay Photography?
Flat lay photography is one of the simplest and most cost-effective methods for showcasing clothes. It involves laying the garments flat on a surface and taking photos from above.
Who uses it?
- Fashion brands & boutiques
- Social media influencers
- Online stores selling multiple items in a single shot
Why Choose Flat Lay?
✔ Clean & modern aesthetic – Perfect for fashion-focused brands.
✔ Great for outfit styling – Display entire ensembles in one frame.
✔ Easy to set up – Requires minimal equipment.
How to Take Stunning Flat Lay Photos
1. Choose the Right Background
A clean, neutral backdrop is crucial. White paper, wood, or fabric works best. A white background is ideal for eCommerce, while textured surfaces add a lifestyle feel.
2. Prepare the Clothing
- Steam or iron garments to remove wrinkles.
- Use a lint roller to eliminate dust and fibers.
- Pin or tape loose fabric edges to create shape and structure.
3. Set Up Your Camera & Lighting
- Use a tripod with an overhead boom arm for stability.
- Position your camera directly above the clothing to avoid distortions.
- For lighting, natural light from a window works well. If using studio lights, softboxes create even exposure without harsh shadows.
4. Editing & Post-Processing
After capturing the photos, enhance them in Photoshop or Lightroom:
- Adjust brightness and contrast for clarity.
- Crop and straighten for alignment.
- Remove the background if needed for a clean, eCommerce-ready image.
Need professional editing? PixelRetouching offers advanced flat lay retouching, including background removal, shadow enhancement, and color correction for a polished, high-end look.
Hanging Clothing Photography: A Natural Display for Fabric & Fit
What is Hanging Clothing Photography?
Instead of using a mannequin, you can hang clothing on a hanger against a clean background. This method is widely used by fashion brands and eCommerce stores to showcase a garment’s natural drape.
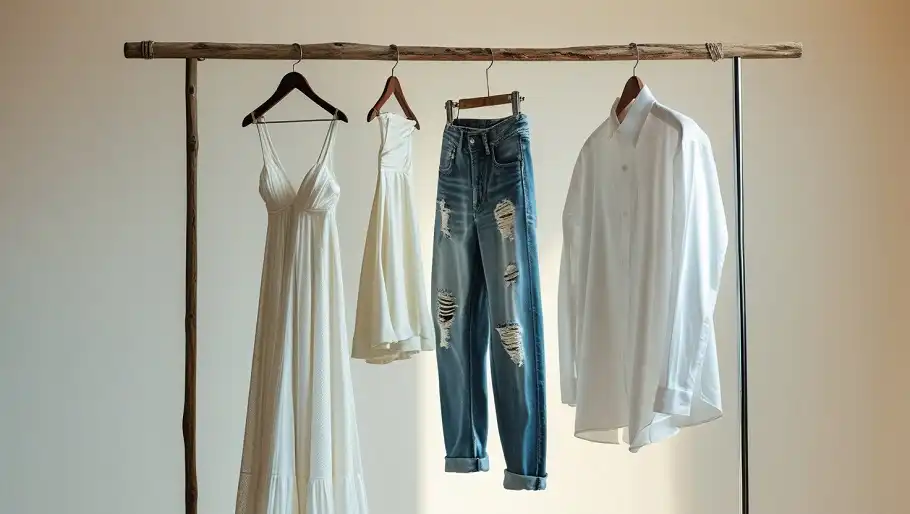
Perfect for:
- Dresses, shirts, and lightweight fabrics
- Showing natural folds and flow
- Achieving a minimalist, stylish presentation
Why Choose Hanging Photography?
✔ Presents the clothing in a natural, vertical position.
✔ Takes up less space compared to flat lay setups.
✔ Allows for multiple angles (front, back, and close-ups).
How to Capture Professional Hanging Clothing Photos
1. Select the Right Hanger & Background
- Use a wooden or padded hanger to avoid awkward creases.
- Avoid wire hangers as they distort the fabric.
- A plain white or light gray background works best for clean, distraction-free images.
2. Set Up Your Camera & Lighting
- Position your camera at the chest level of the clothing for a realistic perspective.
- Use soft, even lighting (a ring light or softbox) to avoid shadows.
- A tripod ensures sharp, stable shots.
3. Editing for a Clean, Polished Look
- Use Photoshop to remove the hanger if you want a floating effect.
- Adjust brightness and contrast to make fabric details pop.
- Fix wrinkles and imperfections using professional retouching tools.
For brands looking to save time on post-production, PixelRetouching provides expert hanger removal, shadow enhancement, and color accuracy adjustments.
Ghost Mannequin Effect: The Best Alternative to a Real Mannequin
What is the Ghost Mannequin Effect?
The ghost mannequin effect creates a 3D look by digitally removing a mannequin from the clothing image. This technique is widely used in eCommerce stores like ASOS and Zara to give garments a floating, invisible-body appearance.
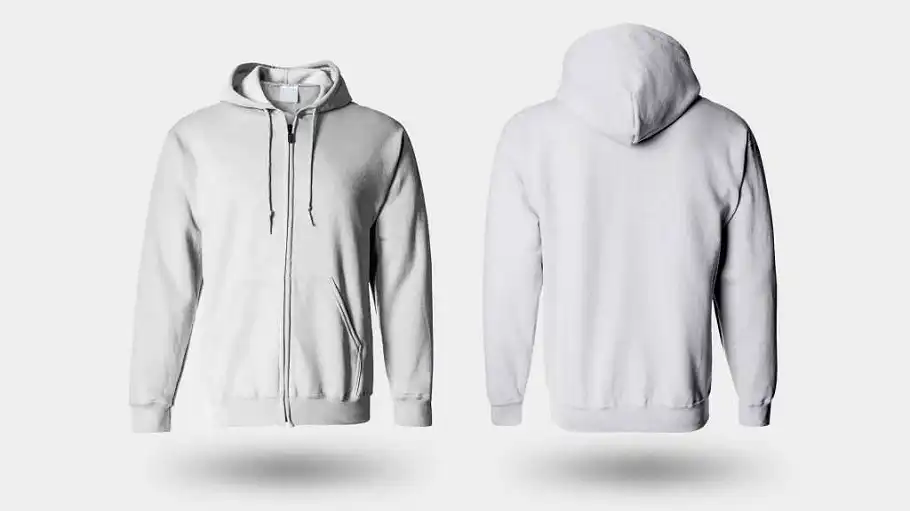
Best for:
✔ T-shirts, jackets, and structured clothing
✔ Giving a 3D realistic shape
✔ Making the product look professional and high-end
How to Create the Ghost Mannequin Effect
1. Capturing the Right Shots
- Photograph the front and back of the garment on a mannequin.
- Take additional shots of the inner collar or sleeve areas for later merging.
- Use consistent lighting and framing for seamless editing.
2. Editing to Remove the Mannequin
In Photoshop, the process involves:
- Layer masking to erase the mannequin.
- Merging inside and outside garment shots for a complete look.
- Refining shadows and contours for a natural 3D appearance.
This process requires advanced editing skills, but PixelRetouching specializes in ghost mannequin retouching for flawless, eCommerce-ready images.
Creative Display Methods: Alternative Ways to Photograph Clothes
Besides flat lay, hanging, and ghost mannequin techniques, you can experiment with other creative ways to showcase clothing. These methods add uniqueness to your brand and help stand out in a crowded market.
1. Pinned or Taped Clothing Display
This technique is widely used in fashion magazines and luxury brands. It involves pinning or taping garments onto a vertical surface (e.g., a wall or board) to create an abstract, artistic effect.
How to Do It:
- Use double-sided tape or small pins to attach clothing to a smooth surface.
- Adjust folds and drapes for a natural, flowy look.
- Place soft lights at an angle to create depth and shadow effects.
- Capture both wide shots and close-ups for detail.
Best for: Artistic fashion brands, creative social media posts, editorial-style shoots.
2. Floating Clothing Photography
Floating photography makes garments appear as if they are suspended in mid-air. It creates a dynamic, eye-catching presentation often used in high-end branding.
How to Achieve the Floating Effect:
- Use transparent fishing lines to hang clothing pieces.
- Capture the photo with a plain background to make post-editing easier.
- In Photoshop, remove the strings and refine shadows for a natural floating look.
Need help with post-production? PixelRetouching offers background removal, floating effect enhancement, and professional touch-ups for flawless images.
Professional Clothing Photography Tips for Best Results
Regardless of the method you choose, great photography depends on proper lighting, camera settings, and composition. Follow these essential tips to achieve high-quality images.
1. Master the Lighting Setup
Lighting is the most crucial factor in clothing photography. It affects color accuracy, shadow depth, and overall image quality.
- Natural Light: Best for soft, organic looks. Shoot near a window with indirect sunlight.
- Softbox Lighting: Provides even, professional exposure without harsh shadows. Ideal for eCommerce.
- Reflectors & Diffusers: Use reflectors to soften shadows and diffusers to spread light evenly.
2. Choose the Right Camera Settings
A professional setup can elevate your photos from amateur to high-end. Use these optimal settings:
| Setting | Recommended Value |
|---|---|
| ISO | 100-200 (low to reduce noise) |
| Aperture | f/8 to f/11 (sharp details, deep focus) |
| Shutter Speed | 1/125s or higher (to avoid motion blur) |
| White Balance | Adjust based on lighting for accurate colors |
Pro Tip: If using a smartphone, switch to manual mode for better exposure control.
3. Maintain Consistent Composition & Framing
- Use a tripod for stable, aligned shots.
- Keep a consistent distance and angle for all products.
- Frame the entire garment, with a little breathing space around the edges.
Which Clothing Photography Method Should You Use?
Each technique serves a different purpose. Here’s a quick guide to help you decide.
| Photography Method | Best For | Pros | Cons |
| Flat Lay | Casual & creative brands | Simple, cost-effective | Not ideal for structured garments |
| Hanging | Natural fabric flow | Easy to set up | Can look flat if not styled well |
| Ghost Mannequin | Professional eCommerce | 3D shape, high-end look | Requires advanced editing |
| Pinned/Taped | Editorial & fashion-forward brands | Unique, creative visuals | Needs careful styling |
| Floating | High-end and luxury brands | Dynamic, eye-catching | Complex setup & editing |
Still unsure? PixelRetouching provides custom editing solutions tailored to your photography method, ensuring flawless, professional results for your brand.
Frequently Asked Questions
1. What is the best way to photograph clothing for online stores?
For eCommerce, the ghost mannequin effect is the industry standard. It creates a realistic, high-quality 3D look that highlights the garment’s fit and design.
However, flat lay or hanging photography works well for more casual brands or social media content.
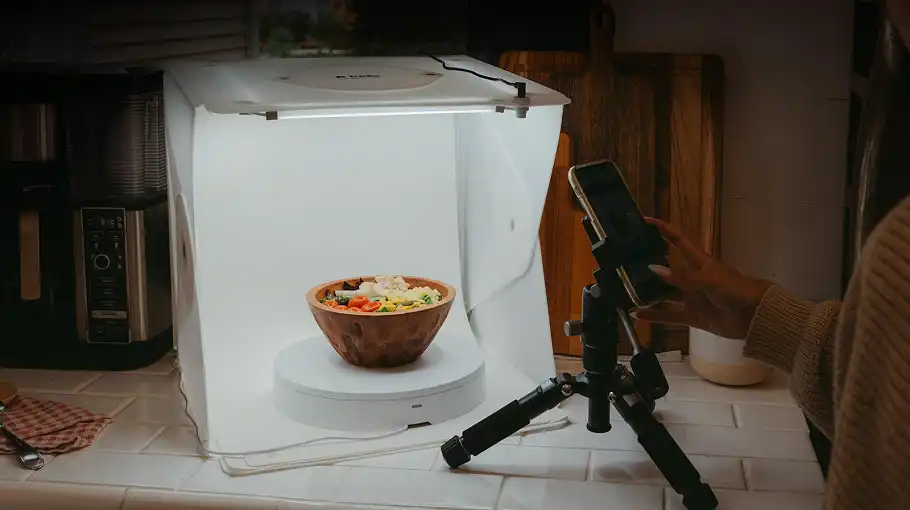
2. Can I take professional clothing photos with my phone?
Yes! Many modern smartphones have advanced cameras that can capture sharp, high-resolution images.
- Use manual mode to adjust ISO, white balance, and exposure.
- Invest in a tripod and soft lighting for better stability and clarity.
Editing is key—so make sure to fine-tune your images using professional tools or services like PixelRetouching.
3. How do I make my clothing photos look more professional?
- Use even, soft lighting to avoid harsh shadows.
- Steam or iron clothes for a clean, polished look.
- Maintain consistency in background, angles, and framing.
- Enhance images in post-production to correct colors and remove distractions.
4. Should I remove the background from my clothing photos?
For eCommerce platforms like Amazon, eBay, or Shopify, a plain white background is preferred. It makes products stand out and meets most platform requirements.
If you need professional background removal and retouching, PixelRetouching offers fast and high-quality edits for a clean, market-ready look.
Bottom Line: Perfecting Clothing Photography Without a Mannequin
Taking high-quality clothing photos without a mannequin is completely achievable with the right techniques. Flat lay, hanging, ghost mannequin, and creative display methods all offer unique advantages depending on your brand style.
However, post-production editing is just as important as the photography itself.
- Want your photos to look high-end and eCommerce-ready?
- Need background removal, color correction, or mannequin editing?
- Looking for professional retouching without spending hours in Photoshop?
PixelRetouching provides expert photo editing services for fashion brands, online sellers, and photographers.
Try our services today with a free trial and get flawless, professional clothing photos with a fast turnaround.