Jewelry photography requires precision, attention to detail, and professional editing to showcase products at their best. Even the most carefully photographed jewelry pieces often contain dust, scratches, fingerprints, unwanted reflections, or color inconsistencies that can reduce their visual appeal. This is where jewelry retouching in Photoshop becomes essential.
Whether you’re a jewelry photographer, eCommerce store owner, or retoucher, learning how to retouch jewelry in Photoshop can significantly improve the quality of your images and increase customer engagement. In this guide, you’ll learn the complete jewelry retouching workflow used by professionals to create polished, high-end product photos.
What Is Jewelry Retouching?
Jewelry retouching is the process of enhancing jewelry photographs by removing imperfections, improving gemstone brilliance, refining metal surfaces, correcting colors, and creating a clean, professional appearance.
The goal is to make jewelry look attractive while maintaining realism. High-quality jewelry retouching helps brands:
- Increase product appeal
- Build customer trust
- Improve conversion rates
- Maintain consistent product presentation
- Create luxury-quality marketing materials
Tools You Need Before Retouching Jewelry Photos
Before starting, ensure you have access to the following Photoshop tools:
Essential Photoshop Tools
- Spot Healing Brush Tool
- Healing Brush Tool
- Clone Stamp Tool
- Pen Tool
- Dodge Tool
- Burn Tool
- Adjustment Layers
- Camera Raw Filter
- Smart Objects
Recommended File Format
For the best results, work with RAW images whenever possible. RAW files preserve more image data, allowing for better exposure correction, color grading, and detail recovery compared to JPEG files.
Step 1: Prepare Your Jewelry Image
Begin by opening the image in Photoshop and creating a duplicate layer. Working on a copy ensures your original image remains untouched.
Analyze the Image
Zoom in and inspect the jewelry carefully. Look for:
- Dust particles
- Fingerprints
- Surface scratches
- Unwanted reflections
- Tarnished areas
- Uneven lighting
- Color inconsistencies
Identifying imperfections early helps streamline the editing process.
Step 2: Remove Dust, Dirt, and Scratches
One of the most important steps in jewelry retouching is removing tiny imperfections that become highly visible in close-up product photography.
Use the Spot Healing Brush Tool
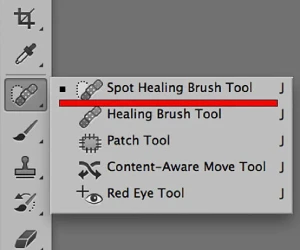
Select the Spot Healing Brush Tool and gently click on small dust spots, fingerprints, and minor scratches.
This tool automatically samples surrounding pixels and blends the correction naturally.
Use the Clone Stamp Tool
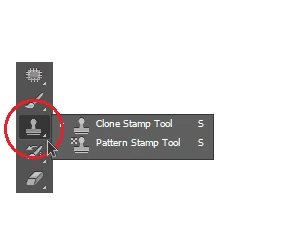
For larger defects or complex areas, switch to the Clone Stamp Tool.
- Hold Alt (Windows) or Option (Mac) to select a clean sample area.
- Carefully paint over scratches or damaged sections.
- Use a soft brush for smoother blending.
Work at 100% to 300% zoom for maximum precision.
Step 3: Clean and Polish Metal Surfaces
Metal surfaces often display reflections, blemishes, and uneven textures that require careful correction.
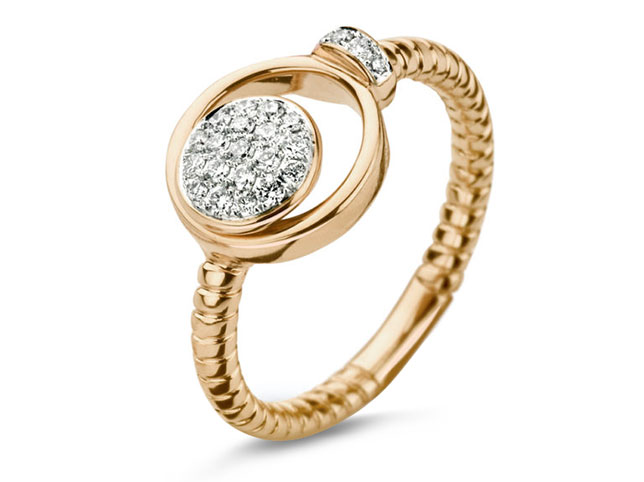
Retouch Gold Jewelry
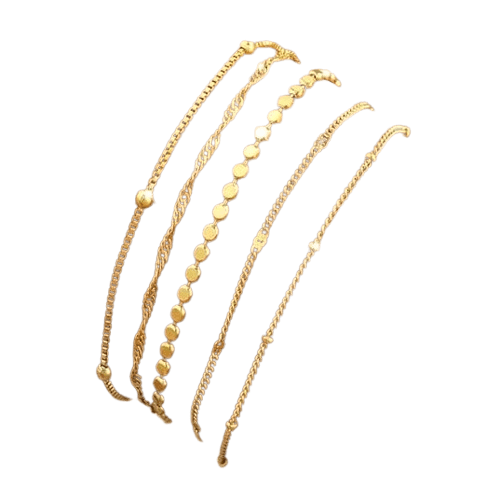
For gold jewelry:
- Remove dark spots and scratches.
- Correct uneven color patches.
- Maintain natural highlights.
- Preserve texture without oversmoothing.
Retouch Silver and Platinum Jewelry
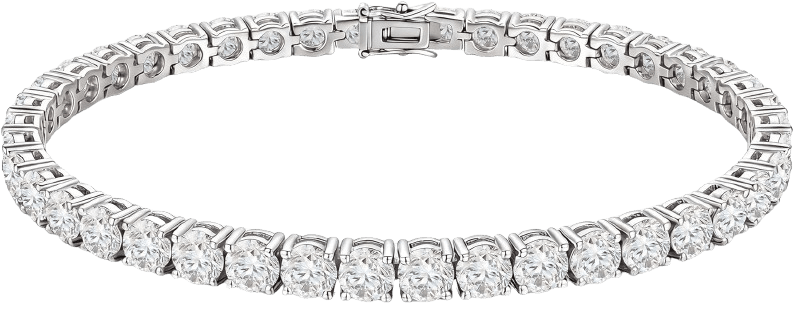
Silver and platinum tend to reveal more reflections and surface marks.
Focus on:
- Eliminating discoloration
- Reducing distracting reflections
- Enhancing smoothness
- Preserving realistic shine
Avoid excessive blurring, which can make metal appear artificial.
Step 4: Enhance Gemstones and Diamonds
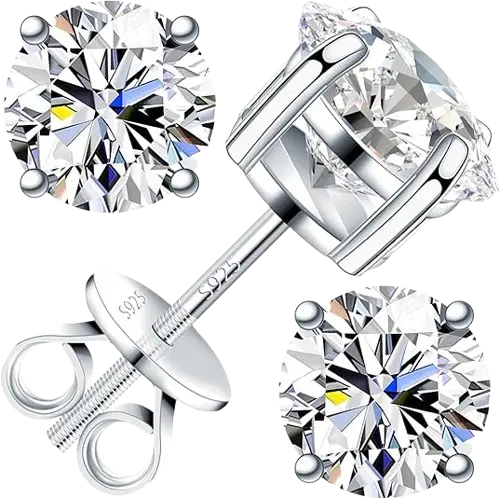
Gemstones are often the focal point of jewelry images. Proper enhancement can dramatically improve their visual impact.
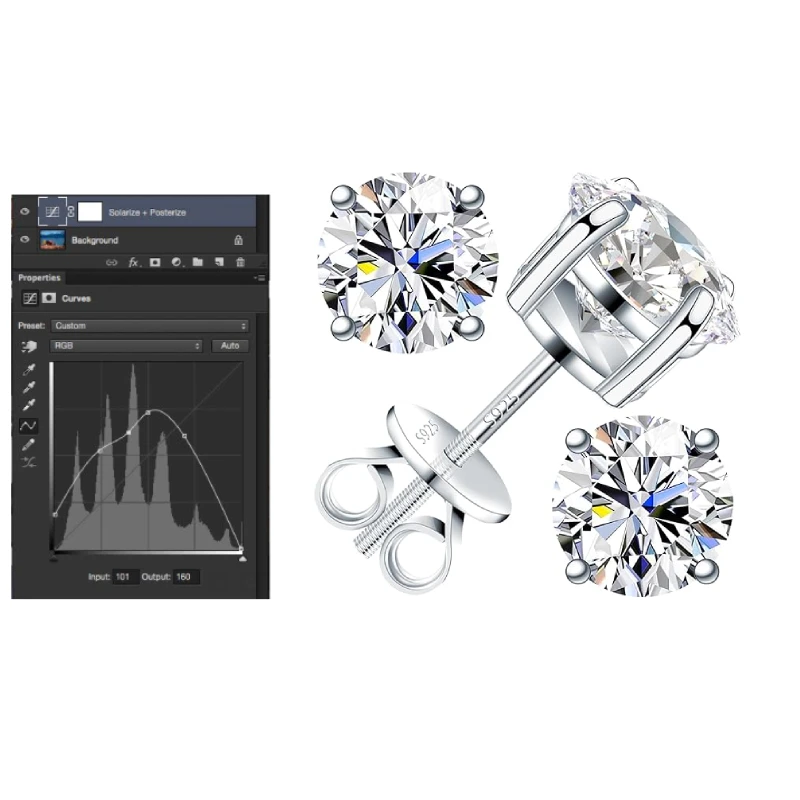
Increase Clarity
Use Curves and Levels adjustments to reveal hidden details within gemstones.
Improve Sparkle
Create a new layer and use Dodge and Burn techniques to selectively brighten highlights and deepen shadows.
Focus on:
- Facet edges
- Light reflections
- Internal brilliance
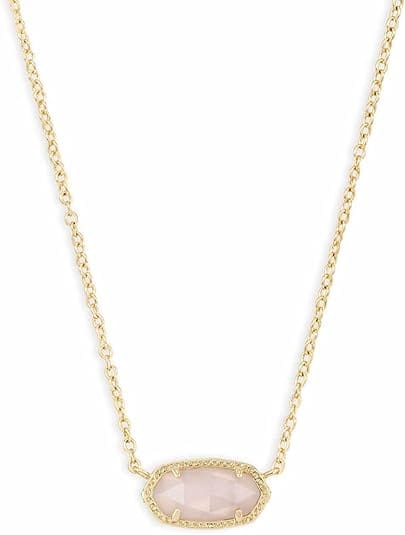
Enhance Color
For colored gemstones:
- Adjust Hue/Saturation carefully.
- Maintain realistic colors.
- Avoid oversaturation.
The objective is to emphasize natural beauty rather than create an exaggerated appearance.
Step 5: Correct Color and White Balance
Accurate color representation is critical in jewelry photography.
Customers expect products to match what they see online.
Adjust White Balance
Use Camera Raw Filter or Curves Adjustment Layers to remove color casts.
Common issues include:
- Yellow color casts
- Blue lighting tints
- Green reflections
Fine-Tune Colors
Adjust:
- Highlights
- Midtones
- Shadows
Ensure gold appears gold, silver appears silver, and gemstones display their true color.
Step 6: Improve Contrast and Highlights
Contrast adds depth and dimensionality to jewelry.
Use Curves Adjustment Layers
Create subtle contrast enhancements by:
- Brightening highlights
- Deepening shadows
- Increasing tonal separation
Apply Dodge and Burn
Use Dodge to brighten reflective areas.
Use Burn to add depth to darker regions.
This technique helps create the premium look often seen in luxury jewelry advertisements.
Step 7: Refine Reflections and Shadows
Reflections can either enhance or distract from a jewelry image.
Clean Reflections
Remove unwanted reflections that:
- Hide important details
- Create visual distractions
- Distort gemstone appearance
Improve Shadows
Natural shadows provide realism and depth.
Create soft shadows beneath the jewelry using:
- Layer masks
- Soft brushes
- Low opacity settings
Avoid harsh or unrealistic shadow effects.
Step 8: Remove or Replace the Background
Most e-commerce platforms require clean white backgrounds.
Create a Precise Selection
Use the Pen Tool to create accurate paths around the jewelry.
Pay special attention to:
- Chains
- Prongs
- Small gemstones
- Intricate details
Replace the Background
Depending on your requirements:
- White background for marketplaces
- Transparent background for design flexibility
- Luxury gradient backgrounds for advertising
Ensure edges remain crisp and natural.
Step 9: Sharpen the Jewelry Image
Sharpening helps reveal intricate craftsmanship and gemstone details.
Apply Smart Sharpen
Navigate to:
Filter → Sharpen → Smart Sharpen
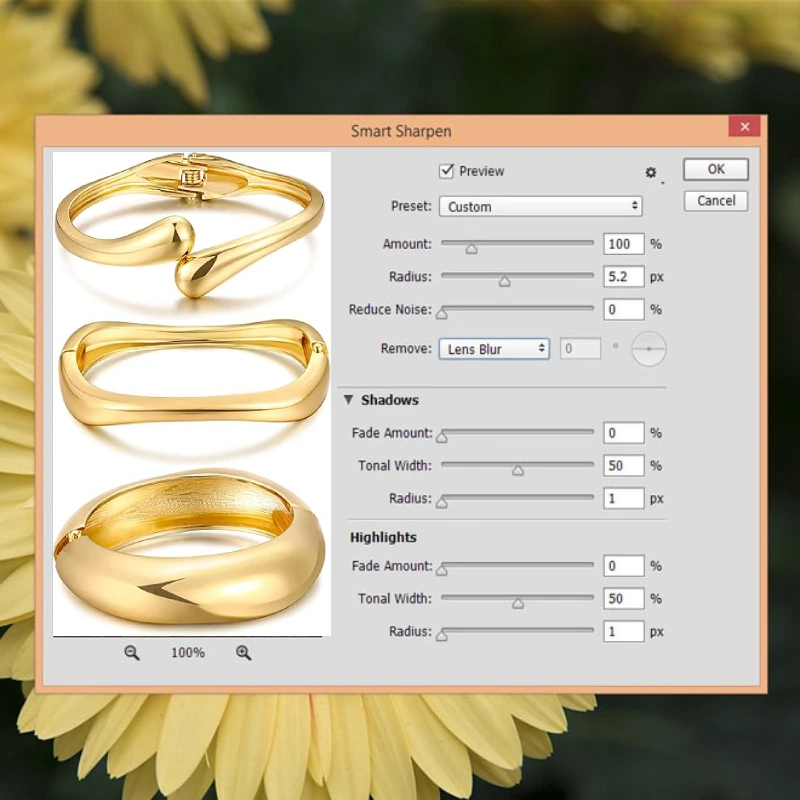
Use moderate settings to enhance detail without introducing noise.
Selective Sharpening
Focus sharpening on:
- Gemstones
- Engravings
- Metal textures
- Product edges
Avoid oversharpening smooth surfaces.
Step 10: Perform a Final Quality Check
Before exporting the image:
Inspect at 100% Zoom
Check for:
- Remaining dust spots
- Retouching errors
- Cloning artifacts
- Edge issues
Verify Color Accuracy
Compare the image with the actual jewelry piece whenever possible.
Review Overall Appearance
Ask yourself:
- Does the jewelry look realistic?
- Are highlights balanced?
- Is the image visually appealing?
- Does it meet brand standards?
A final review helps ensure professional-quality results.
Common Jewelry Retouching Mistakes to Avoid
Over-Retouching
Excessive editing can make jewelry appear artificial and unrealistic.
Oversharpening
Too much sharpening creates halos and noise.
Unrealistic Colors
Customers expect accurate product representation.
Avoid extreme color enhancements.
Poor Reflection Management
Removing all reflections can make jewelry appear flat and lifeless.
Ignoring Small Imperfections
Tiny flaws become highly noticeable in close-up product photography.
Always inspect images carefully.
Professional Tips for High-End Jewelry Retouching
- Work non-destructively using adjustment layers.
- Use layer masks instead of erasing pixels.
- Keep retouching natural and realistic.
- Zoom in frequently to check details.
- Maintain consistency across product catalogs.
- Save layered PSD files for future revisions.
- Compare before-and-after versions throughout the editing process.
Frequently Asked Questions
How long does it take to retouch a jewelry photo?
Basic jewelry retouching can take 15–30 minutes, while high-end luxury retouching may require several hours, depending on complexity.
What Photoshop tool is best for jewelry retouching?
The Clone Stamp Tool and Healing Brush Tool are among the most important tools for removing dust, scratches, and imperfections.
How do you make diamonds sparkle in Photoshop?
Use Dodge and Burn techniques, Curves adjustments, and selective contrast enhancements to emphasize brilliance while maintaining realism.
Can beginners retouch jewelry photos professionally?
Yes. With practice and a structured workflow, beginners can achieve professional-quality results using Photoshop.
Conclusion
Jewelry retouching in Photoshop is a specialized skill that combines technical precision with artistic judgment. By following a systematic workflow, cleaning imperfections, refining metal surfaces, enhancing gemstones, correcting colors, and optimizing reflections, you can transform ordinary jewelry photographs into stunning, professional product images.
Whether you’re editing images for an online jewelry store, luxury catalog, or advertising campaign, mastering these techniques will help you create visually appealing photographs that attract customers and showcase jewelry at its absolute best.