Photographing jewellery comes with unique challenges: tiny details, reflective surfaces, glare, and difficult lighting conditions. The solution? Creativity.
By thinking beyond the ordinary, experimenting with lighting, backgrounds, props, and composition, you can transform jewellery photography into an art that sells.
Let’s get into some of the most effective and creative jewellery photography ideas that will make your pieces stand out.
1. Lighting Techniques for Striking Jewellery Photos
Lighting can make or break jewellery photography. It highlights textures, enhances sparkle, and creates mood. Understanding different lighting techniques will help you achieve professional-quality images.
Natural Light vs. Artificial Light
Natural light is great for soft, organic looks. Diffused daylight from a window works well to create even illumination. However, direct sunlight often causes harsh shadows and unwanted reflections.
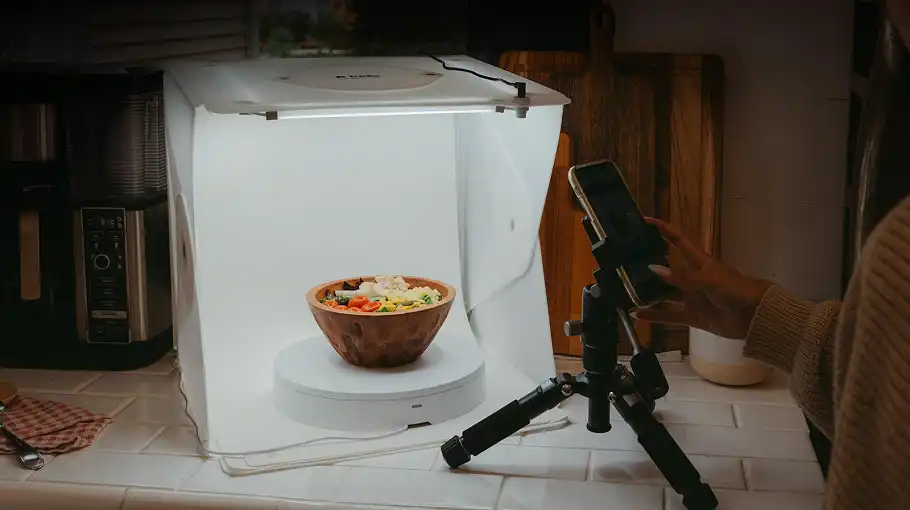
For greater control, artificial lighting is preferred. Softboxes, light tents, and reflectors are essential tools to create a balanced light that enhances the jewellery without overpowering it.
Pro Lighting Tips for Jewellery Photography:
- Use diffused lighting to avoid harsh reflections. Softboxes or white fabric over lights can help.
- Side lighting creates depth and highlights intricate details.
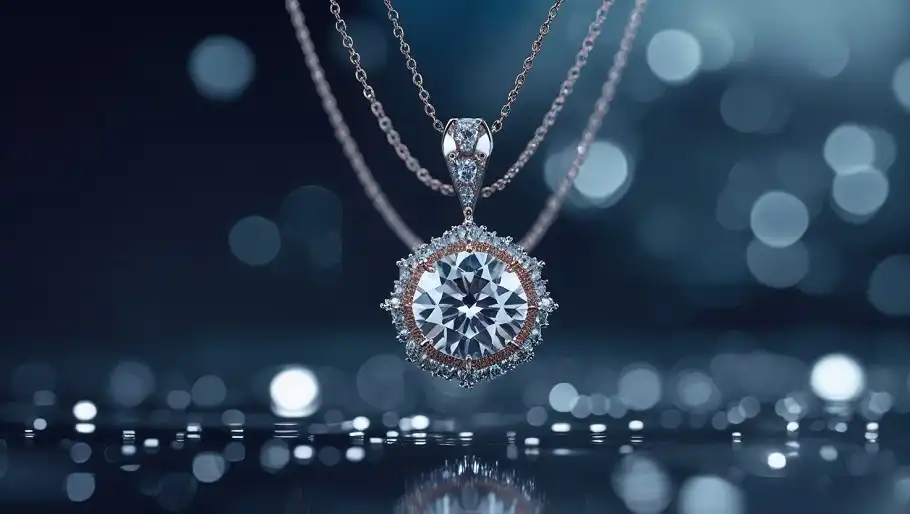
- Experiment with backlighting to create a glowing effect, especially for transparent gemstones.
- Consider using multiple light sources to balance shadows and add dimension.
- Try a ring light for a uniform glow around the jewellery, enhancing its shine.
Using Shadows & Reflections for Dramatic Effects
Reflections can be a powerful tool in jewellery photography. Shooting on a reflective surface like glass or polished metal creates an elegant mirror effect. Adding subtle shadows can give depth and make the jewellery feel more three-dimensional.
Water reflections can add a dreamy effect, while controlling reflections in gemstones helps avoid distracting glare. Using a polarizing filter can minimize reflections from shiny metal surfaces.
2. Backgrounds That Enhance Jewellery’s Appeal
A well-chosen background can either elevate or ruin a jewellery photo. A simple, clean background helps the piece stand out, while a creative one can tell a story.
Classic Backgrounds for Elegance & Simplicity
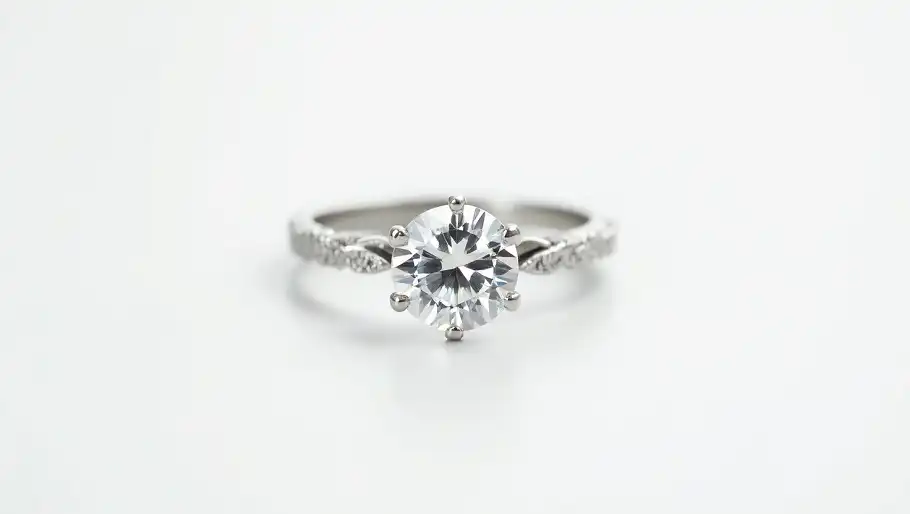
- White Background: Ideal for eCommerce and catalogues. Makes the jewellery the focal point.
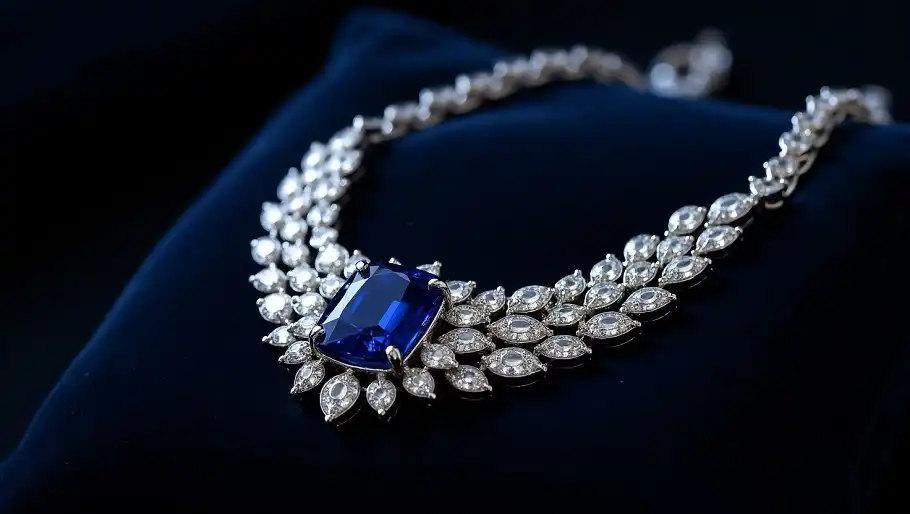
- Black Background: Perfect for highlighting metallic and gemstone details. Gold and diamonds look particularly striking against black.
- Grey or Neutral Tones: Softens the contrast while keeping the focus on the jewellery.
Textured & Themed Backgrounds for a Unique Look
Adding texture can enhance the overall composition. Marble, velvet, slate, or wood create a luxurious and organic feel. A piece of driftwood for boho jewellery or a slate slab for modern minimalism can set the mood perfectly.
For a more branded approach, use brand colors subtly in the background. This helps in creating a signature look across marketing materials.
3. Creative Use of Props to Tell a Story
Props can transform a simple jewellery shot into a lifestyle-driven image. The key is to use them sparingly and strategically so they complement, rather than overshadow, the jewellery.
Best Props for Jewellery Photography:
- Natural elements: Leaves, flowers, twigs, seashells for an organic look.
- Luxury textures: Silk, velvet, or satin add richness and class.
- Vintage elements: Antique books, lace, or old keys for a nostalgic touch.
- Jewellery stands & mannequins: Perfect for professional displays.
Jewellery photographed in real-life scenarios, such as on a model’s hand or neck, helps customers visualize how it will look when worn. Hand shots for rings, neck close-ups for pendants, and wrist shots for bracelets are particularly effective.
4. Mastering Composition & Angles for Artistic Impact
Composition is what turns a simple jewellery photo into a visually stunning masterpiece.
Focal Point & Negative Space
Every image should have a clear focal point—usually the centrepiece of the jewellery. Utilizing negative space around it helps draw the viewer’s eye exactly where you want it.
Experimenting with Different Angles
- Top-down shots: Great for flat lays and showcasing multiple pieces.
- Close-up macro shots: Capture fine details like engravings, stone cuts, and metal textures.
- 45-degree angle shots: The best balance between dimension and clarity.
- Floating jewellery techniques: Suspending pieces using thin threads (edited out in post-processing) gives a weightless, magical effect.
5. Special Effects: Reflections, Water, & Movement
Adding dynamic elements brings jewellery photos to life.
Using Water for Reflection & Elegance
Placing jewellery near a shallow pool of water can create soft, rippling reflections. Sprinkling tiny water droplets on a metallic surface can enhance the shine of gemstones.
Capturing Movement for More Engagement
- Slow-motion video clips of dangling earrings or spinning rings can be mesmerizing.
- Jewellery in motion—a bracelet sliding onto a wrist or a necklace being fastened—adds realism and human touch.
6. Technical Perfection: Camera Settings, Editing & More
Even the most creative setup needs technical precision for professional results.
Choosing the Right Camera & Lens
- Macro lenses (60mm-100mm) are essential for capturing intricate details.
- High-resolution cameras (20MP or higher) ensure crisp images.
- Tripods are a must for stability and avoiding blurriness.
Editing & Retouching for Flawless Results
Post-processing is where the magic happens. Even a well-shot jewellery image benefits from retouching.
At Pixel Retouching, we specialize in professional jewellery photo enhancement, ensuring your images look flawless while maintaining their natural essence. Our experts handle:
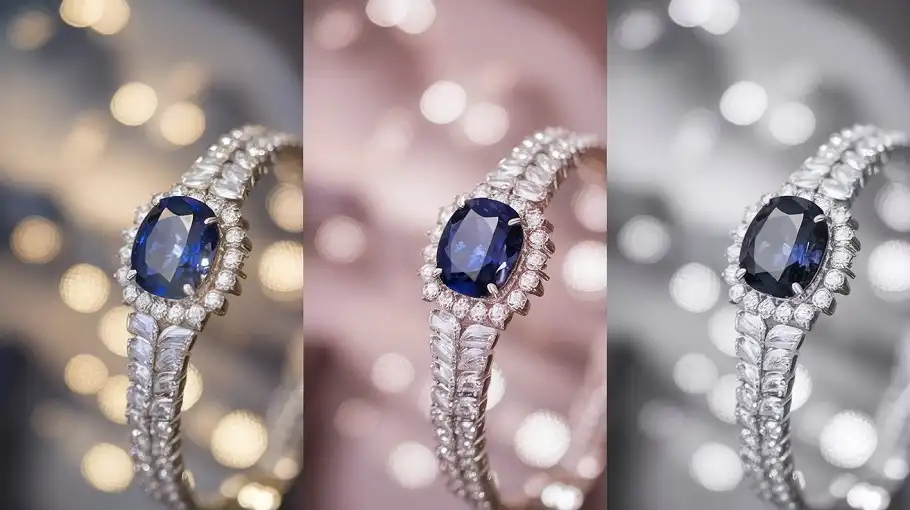
- Color correction & white balance adjustments for accurate gemstone tones.
- Removing dust, fingerprints, or scratches for pristine results.
- Reflection & glare control for a polished, professional look.
- Background enhancements & shadow adjustments for depth and realism.
7. Branding Integration: Making Your Jewellery Photography Unique
In today’s competitive market, brand identity is just as important as the product itself. Your jewellery photos should not only be beautiful but also recognizable as your brand’s signature style.
Developing a Consistent Visual Style
A potential customer should instantly associate a jewellery photo with your brand, even before seeing the logo. Achieve this by:
- Using consistent background tones & props that match your brand’s aesthetic.
- Maintaining a uniform lighting setup across all images.
- Creating a signature angle or composition—perhaps a unique way of positioning rings or layering necklaces.
- Adding subtle branding elements like a monogrammed jewellery box or a signature texture in the background.
Storytelling Through Photography
Jewellery is personal. It symbolizes milestones, emotions, and memories. Your photography should evoke those feelings.
For example:
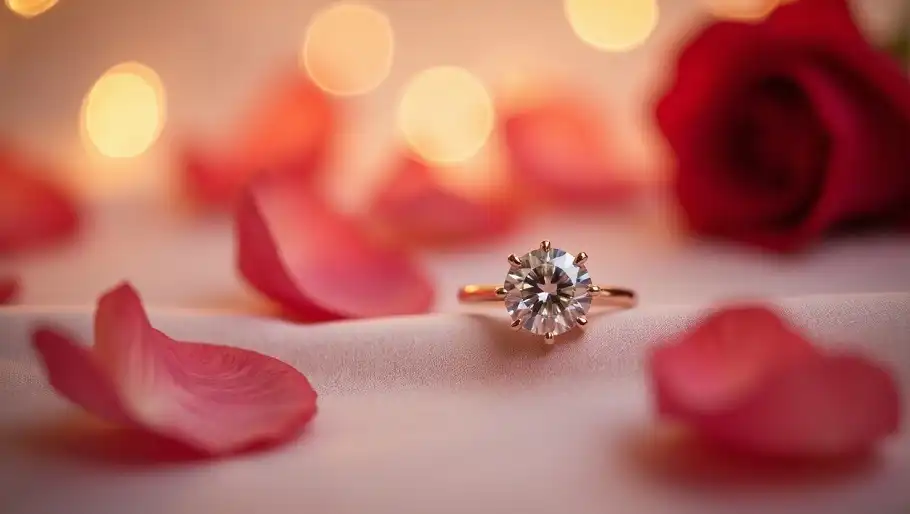
- Engagement rings can be shot in a romantic setting with soft, warm tones.
- Luxury diamond pieces can be placed on black velvet with dramatic lighting.
- Bohemian-style jewellery can be photographed outdoors with natural elements like sand or leaves.
By connecting the jewellery to emotions, your brand becomes more than just a seller—it becomes part of the customer’s story.
8. Common Jewellery Photography Mistakes to Avoid
Even professionals make mistakes, but knowing what to avoid can save you time and frustration.
1. Overexposure or Harsh Lighting
Jewellery is highly reflective. Too much light creates unwanted glares, making metal and gemstones look unnatural. Always diffuse lighting and test different angles.
2. Lack of Sharp Focus
Soft focus can ruin jewellery photography. Always use a tripod, focus stacking, and macro lenses to ensure sharpness in every detail.
3. Dirty Jewellery or Smudges
Even minor dust, scratches, or fingerprints stand out in macro photography. Always clean jewellery before shooting. If necessary, use post-processing retouching to perfect the final image.
4. Busy or Distracting Backgrounds
The jewellery should be the hero. Avoid cluttered backgrounds or overpowering props that steal attention.
5. Poor Editing or Over-Retouching
While post-processing is essential, overdoing it can make jewellery look unrealistic. Customers expect true-to-life color representation of metals and gemstones.
9. Advanced Jewellery Photography Techniques
For those looking to take their jewellery photography to the next level, these advanced techniques can create stunning, high-end visuals.
1. Focus Stacking for Perfect Clarity
Jewellery often has multiple elements (gems, engravings, prongs) that need to be in focus. Focus stacking involves taking multiple shots at different focus points and merging them for a fully sharp image.
2. UV Light & Fluorescence Photography
Some gemstones, like diamonds and opals, glow under UV light. Experimenting with UV photography can reveal mesmerizing details and add uniqueness to your images.
3. Floating Jewellery Photography
Using invisible threads or acrylic stands, you can make jewellery appear as if it’s floating in mid-air. Later, edit out the supports for a clean, ethereal look.
4. Cinemagraphs & Motion Effects
Instead of static images, consider creating cinemagraphs—subtle moving elements within a still photo. For example, a diamond pendant with a faint, shimmering light effect can add magic to your visuals.
10. The Power of Post-Processing & Retouching
Even the best photography setups cannot eliminate all imperfections. Post-processing is what transforms good jewellery photos into stunning, high-end visuals.
What Retouching Can Fix:
- Removing unwanted reflections & glare
- Enhancing gemstone sparkle & clarity
- Adjusting metal tones for true color accuracy
- Smoothing out dust, scratches, or fingerprints
- Perfecting background consistency for eCommerce
Frequently Asked Questions (FAQs)
1. What is the best camera for jewellery photography?
A high-resolution DSLR or mirrorless camera with a macro lens (60mm-100mm) is ideal for capturing intricate details.
2. How do I avoid reflections in jewellery photography?
Use diffused lighting, a light tent, and a polarizing filter to control reflections on metal surfaces and gemstones.
3. What is the best background for jewellery photography?
A white or black background works best for eCommerce, while textured surfaces like velvet or marble add luxury to artistic shots.
4. How do I make diamonds sparkle in photos?
Position a small direct light source to create sparkle. Slight movements while shooting help capture light reflections at the right angles.
5. Why should I use professional retouching for jewellery photos?
Jewellery is highly detailed, and even the best raw images need editing for color accuracy, dust removal, and lighting correction. Pixel Retouching specializes in high-end jewellery photo enhancement to make your pieces look flawless and luxurious.