Why Use a Smartphone for Jewelry Photography?
- Convenience: Always in your pocket; no bulky gear to set up.
- Advanced Tech: Built-in macro modes, HDR, and AI-enhanced sharpness capture fine details effortlessly.
- Speed: Shoot, edit, and upload to Instagram or Shopify in minutes.
- Cost-Effective: Leverage equipment you already own.
Step 1: Choose the Right Device & Lens
- iPhone Users: Models from the iPhone 12 Pro and later (especially the 15/16 Pro series) offer exceptional macro modes with 48MP sensors that capture incredible texture.
- Android Users: The Samsung Galaxy S24 Ultra, Google Pixel 9 Pro, and Xiaomi 14 Ultra are top contenders for their detailed close-up performance and superior computational photography.
Pro Tip: Always use the rear camera. It has larger sensors and better lenses than the front-facing selfie camera, which is designed for wide-angle faces, not intricate details.
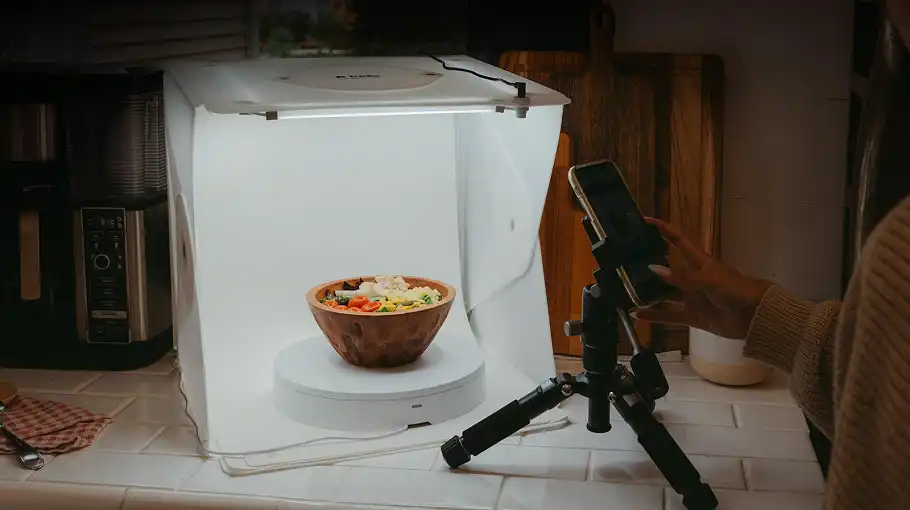
Step 2: Stabilize for Sharpness
Jewelry photography requires absolute stability to avoid blurry images. Even the slightest hand movement can reduce sharpness. Using a tripod with a phone mount ensures stability and helps maintain a consistent angle across shots.
Recommended Options:
| Accessory | Benefit |
| Mini Tripod | Compact, easy to position |
| Clamp Stand | Keeps phone steady for close-up shots |
| Gimbal Stabilizer | Reduces motion blur when shooting handheld |
If you don’t have a tripod, place your phone on a stable surface and use the timer mode to avoid movement when pressing the shutter.
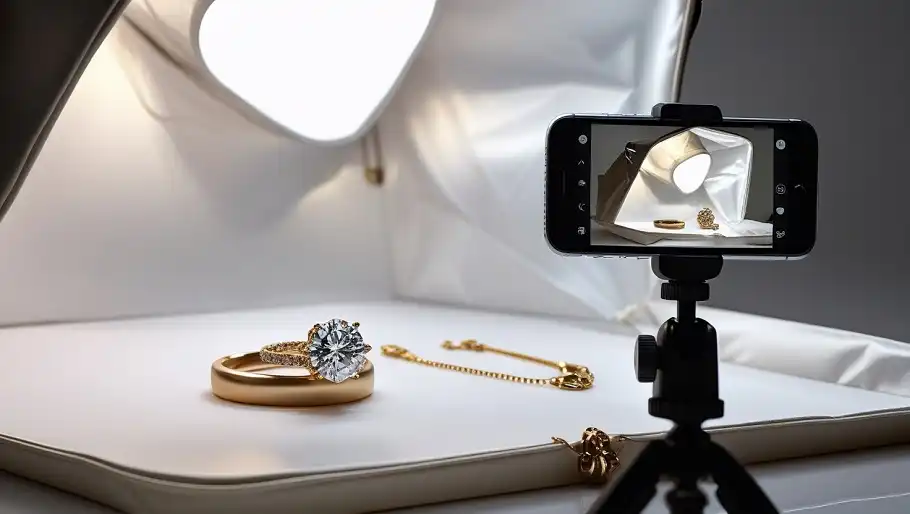
Step 3: Master the Lighting
The Golden Rule: Diffuse Your Light
- Natural Light (Budget-Friendly): Place your setup next to a large window with indirect sunlight. Use a sheer white curtain to diffuse the light further.
- LED Panels with Softboxes: Provides consistent, adjustable brightness. Position two lights at 45-degree angles to the jewelry to eliminate shadows and highlight facets.
- Light Tent: A small, enclosed tent with translucent walls. This is the easiest way to eliminate reflections and create a seamless, shadow-free environment for small items like rings and earrings.
Step 4: Select the Perfect Background
Background Type | Best For | Why It Works |
|---|---|---|
Pure White | E-commerce (Amazon, Etsy, Shopify) | Industry standard; clean, professional, easy to edit. |
Matte Black | Luxury & High-End Branding | Creates dramatic contrast; makes gold and silver pop. |
Marble/Wood | Lifestyle & Social Media | Adds texture and context; feels organic and warm. |
Velvet/Fabric | Soft, Romantic Looks | Absorbs light, reducing reflections; adds depth. |
Step 5: Prep & Position Your Jewelry
- Clean Thoroughly: Use a microfiber cloth and gloves to remove fingerprints, dust, and oils. Even tiny smudges look huge in macro shots.
- Positioning Tricks:
- Rings: Use clear wax, museum putty, or fishing line to stand rings upright.
- Necklaces: Drape them in a natural “S-curve” or hang them from a clear stand to show length and pendant detail.
- Earrings: Hang them or lay them flat with studs secured in foam to keep them symmetrical.
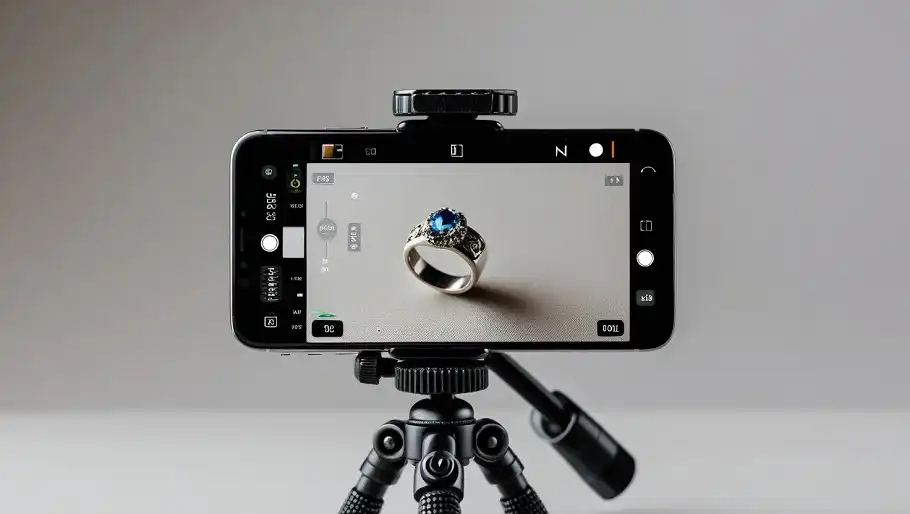
Step 6: Camera Settings for Crisp Details
Camera settings for jewelry photogtaphy is essentail steps which can’t be skipped.
Manual Focus & Exposure
- Tap to Focus: Tap directly on the gemstone or intricate metalwork on your screen to ensure the sharpest part of the image is in focus.
- Lower Exposure: Jewelry (especially silver and diamonds) reflects light. If the image looks washed out, slide the exposure slider down slightly to recover detail in the highlights.
Pro Mode Settings (If Available)
- ISO: Keep it low (100–200) to minimize digital noise/grain.
- Shutter Speed: Faster speeds (1/100s or higher) freeze any potential movement.
- White Balance: Adjust manually. Cooler temps (4500K–5000K) suit silver/diamonds; warmer temps (5500K–6000K) suit gold.
Step 7: Edit Like a Pro
Recommended Apps
- Adobe Lightroom Mobile: Best for color correction, sharpening, and noise reduction.
- Snapseed: Great for selective edits and removing small dust spots (Healing tool).
- Photoshop Express: Good for quick background removal and basic retouching.
Key Editing Adjustments
- Brightness & Contrast: Brighten the image slightly but maintain contrast to keep metals looking metallic, not gray.
- Sharpening: Increase sharpness by 10–20%. Over-sharpening creates artificial halos. Use the “Clarity” or “Texture” slider to enhance gemstone facets.
- Color Correction:
- Gold: Ensure it looks warm and rich, not yellow or brassy.
- Silver: Keep it cool and crisp.
- Gemstones: Boost saturation slightly to make colors vibrant, but keep it natural.
- Cleanup: Use the Healing Brush to remove remaining dust specks or minor scratches.
Background Removal

Choosing the Best Editing App for Jewelry Photos
Most smartphones have built-in editing tools, but for professional-level jewelry retouching, specialized apps offer more control.
Best Editing Apps for Jewelry Photography
| App | Best For | Price |
| Adobe Lightroom Mobile | Color correction, sharpness, noise reduction | Free / Premium version |
| Snapseed | Fine-tuned edits, selective adjustments | Free |
| Photoshop Express | Basic retouching, exposure fixes | Free / Premium version |
| Pixel Retouching (Professional Service) | High-end retouching, background removal, reflection fixes | Paid service |
Common Mistakes to Avoid
- Using Direct Flash: Creates harsh glare and flattens the image. Always diffuse.
- Ignoring Reflections: Check your screen for reflections of yourself, the ceiling, or the room. Use a light tent or black cards to block unwanted reflections.
- Over-Saturating Colors: Makes jewelry look fake. Aim for true-to-life representation.
- Shooting in Auto Mode Only: Take control of focus and exposure to ensure consistency.
Bottom Line
FAQs
1. Can I take professional jewelry photos without a DSLR?
Yes! Modern smartphones have powerful cameras that can capture high-quality jewelry photos. With proper lighting, stabilization, and editing, you can achieve professional results without a DSLR.
2. What is the best smartphone for jewelry photography?
The iPhone 12 Pro and newer models, Samsung Galaxy S21 Ultra, Google Pixel 7 Pro, and OnePlus 10 Pro are excellent choices due to their macro photography capabilities and advanced image processing.
3. How do I remove reflections from jewelry photos?
Use diffused lighting, position your light sources at a 45-degree angle, and edit out unwanted reflections using Lightroom or professional retouching services.
4. Should I use a white or black background for jewelry photos?
A white background is best for eCommerce (Amazon, Shopify, Etsy), while a black background enhances luxury branding and makes gold and silver jewelry stand out.