Creating great product photos isn’t just about having a good camera or a clean background. It’s about mastering light—how it hits the product, how it wraps around details, and how it brings textures and colors to life.
In this article, we’ll walk you through the entire process of setting up lighting for product photography. From choosing the right lights to arranging your shooting space for perfect exposure, we’ll cover everything—without fluff or jargon. Whether you’re shooting for Amazon listings, Shopify stores, or your own eCommerce brand, this guide will help you create product images that sell.
Why Lighting Can Make or Break Your Product Photo
Before diving into setups, let’s clarify why lighting is the foundation of product photography.
Good lighting does more than just illuminate—it shapes perception. It brings out texture in a leather wallet, adds depth to a bottle of perfume, and gives a clean, crisp finish to a white sneaker. Without proper lighting, your photos can look flat, dull, or inaccurate.
In e-commerce, where customers can’t touch the product, lighting becomes the tool that communicates quality.
According to a 2023 Shopify study, 75% of shoppers say product photos are the most influential factor in deciding to buy. Poorly lit images don’t just reduce engagement—they lead to lost trust and lower conversions.
First, Choose the Right Lighting Equipment

There are many types of lights available, but the right choice depends on your product type, budget, and control needs.
Continuous Lights vs Strobes
For most beginners and even professionals, continuous LED lights are the go-to. Why?
- You can see the lighting in real time before you click the shutter.
- They’re easier to use, especially when adjusting shadows and highlights.
- Many come with adjustable brightness and color temperature.
Strobes or flash units are more powerful and freeze motion better, but they have a steeper learning curve. For static product shots, especially for web, LED panels are usually more than enough.
Recommended Lights
| Type | Best For | Example Models | Price Range |
| LED Panels | General product photography | Godox LEDP260C, Neewer 660 RGB | $50 – $150 |
| Softboxes | Soft, even lighting | Neewer 24×24 Softbox Kit | $80 – $120 |
| Ring Lights | Flat lay or symmetrical lighting | Elgato Ring Light, Neewer 18-inch | $60 – $150 |
| Strobes + Modifiers | High-end, commercial work | Godox AD600, Profoto B10 | $400+ |
Stick with daylight-balanced (5600K) lights. This color temperature mimics natural daylight and reduces editing work later.
Building the Right Environment
Lighting works best in a controlled environment. Here’s how to create one, even in a small space or home studio.
1. Eliminate Mixed Lighting
Turn off all overhead lights, lamps, or any ambient lighting that could alter your white balance. Only use your photo lights. This gives you full control over shadows, highlights, and color consistency.
2. Use a White or Neutral Background
A pure white background isn’t just for aesthetics. It reflects light evenly, making exposure more consistent. You can use:
- A white seamless paper roll
- Acrylic boards
- Foldable pop-up light tents
Neutral gray backdrops work well too if you want a moody or more branded tone.
3. Keep the Area Clutter-Free
Your shooting area should be clean, uncluttered, and stable. Any light bouncing off reflective surfaces (even walls) can create unwanted color casts or shadows.
Use black foam boards (called flags) to block light spill, or white foam boards (fill cards) to reflect light into shadows.
Single-Light Setup for Beginners
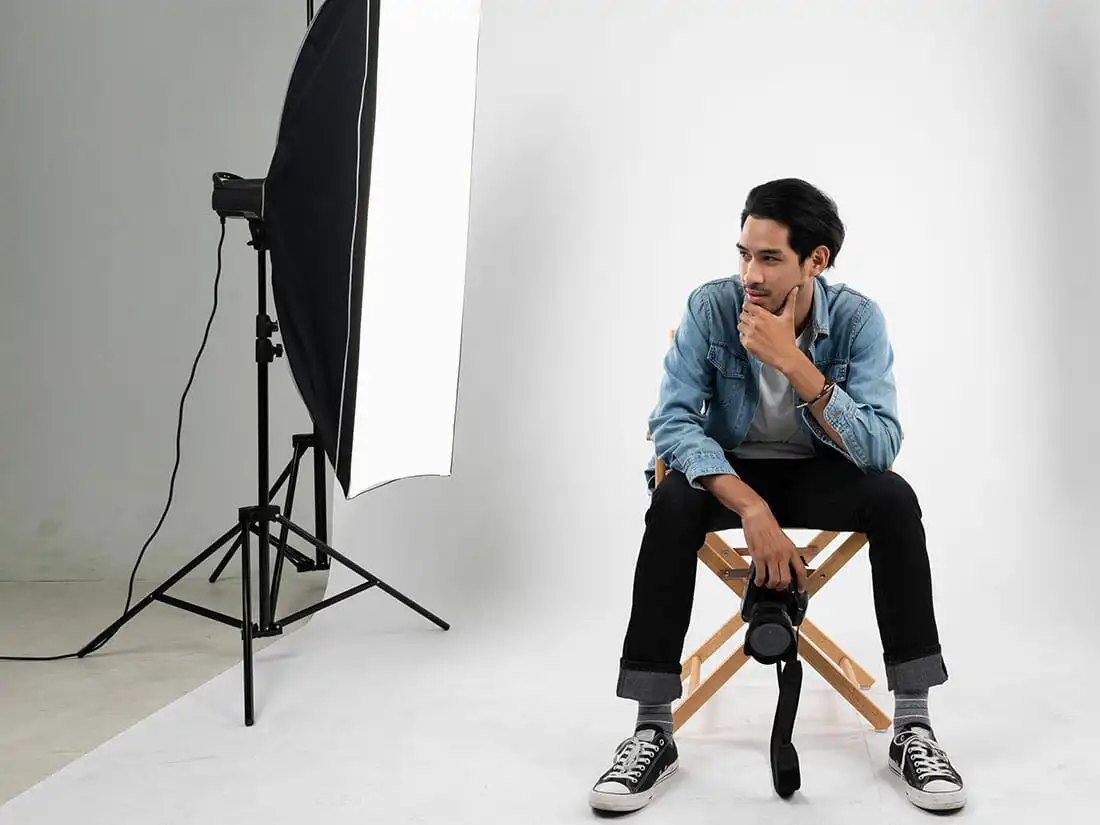
You don’t need multiple lights to get started. In fact, one soft light source and a few reflectors can go a long way.
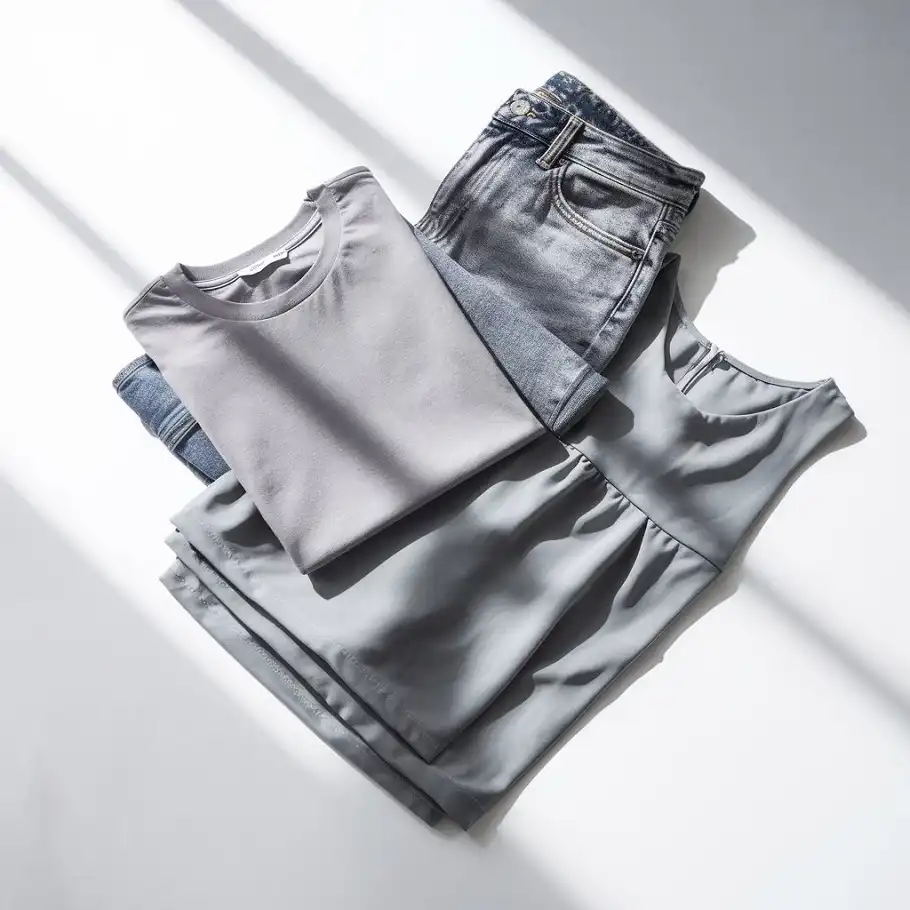
Side Lighting with Reflectors
Place your light at a 45-degree angle to the product. This creates gentle shadows that add depth without being harsh.
On the opposite side, position a white reflector or foam board to bounce light back. This technique is great for items like:
- Clothing
- Books
- Electronics
- Home decor
It’s simple, scalable, and works with most eCommerce product types.
Pro Tip: Want less shadow? Move the light source closer or make it larger (by using a bigger softbox). Want more dramatic shadows? Pull it back or use a smaller light source.
Multi-Light Setups for Precision
As you gain confidence, introduce a second or third light. Here’s how different lights can work together.
2-Light Setup (Key + Fill)
Key light: This is your main light, placed at an angle (30°–45°) from the front.
Fill light: Lower power, placed on the opposite side to soften shadows without erasing them.
This setup works great for:
- Beauty products
- Soft furnishings
- Apparel
It gives control over light depth while keeping the product true to color.
3-Light Setup (Key + Fill + Backlight)
Add a third light behind or above the product. This is your hair or kicker light, adding separation from the background.
It’s especially useful for:
- Transparent or semi-gloss products
- Bottles and glassware
- Metallic finishes
Always remember: More lights mean more variables. Every light casts its own shadow and affects contrast, so add one at a time and test as you go.
Modifiers: The Secret to Controlling Your Light
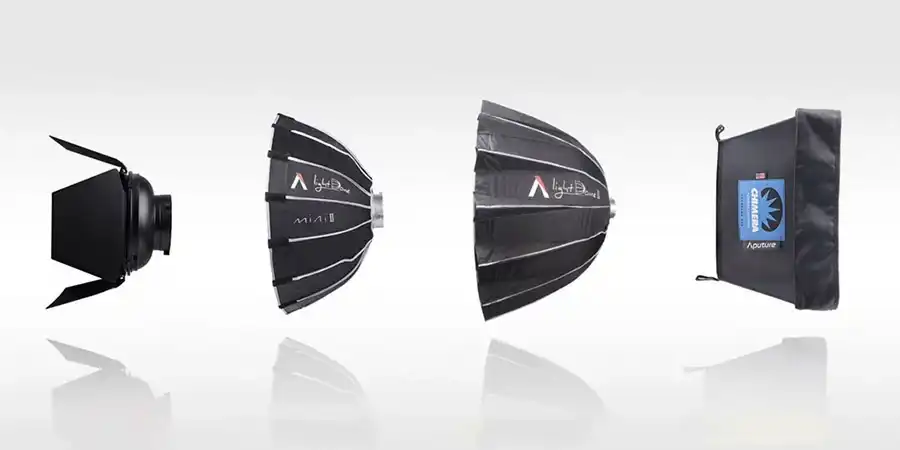
The difference between a professional look and an amateur one often comes down to light modifiers.
Softboxes
These are the most versatile. They spread light evenly and reduce hard shadows. Use a rectangular or octagon softbox for even wrap-around light.
Umbrellas
Easier to set up, umbrellas create softer light but are harder to control. They spill more light across the room, which can lower contrast.
Diffusers
For small setups or tight budgets, even a white bedsheet or shower curtain can soften direct light.
Flags and Bounce Cards
Use black cards to create shadows and define edges. Use white cards to fill in dark areas. They’re cheap, effective, and make your light look more three-dimensional.
Natural Light: Does It Still Work?
Yes, but with limitations.
Shooting with window light can create stunning, natural looks. However, it’s less consistent. The sun moves, clouds change, and your white balance might shift.
If you’re using window light:
- Choose a north-facing window to avoid direct harsh sunlight.
- Use a white curtain or sheer fabric to diffuse the light.
- Avoid midday light if shooting near a south- or west-facing window—it’s too harsh and unpredictable.
You’ll need to adjust your white balance frequently, and editing will take longer. But for lifestyle or minimal setups, it can work beautifully.
Camera Settings and White Balance
Even with perfect lighting, the wrong camera settings can ruin a shot.
Always shoot in RAW. This gives you flexibility in editing, especially with exposure and white balance.
Set your white balance to match your lights—usually “Daylight” (5600K) for LED panels. Don’t leave it on Auto unless you’re working in RAW and plan to fix it later.
Use a low ISO (100–200) to reduce noise. Keep your aperture around f/8 for maximum sharpness and depth of field.
Shutter speed doesn’t matter much for static products if you’re using a tripod—but keep it slow and stable to allow proper exposure without increasing ISO.
DIY Lighting Setup for Beginners

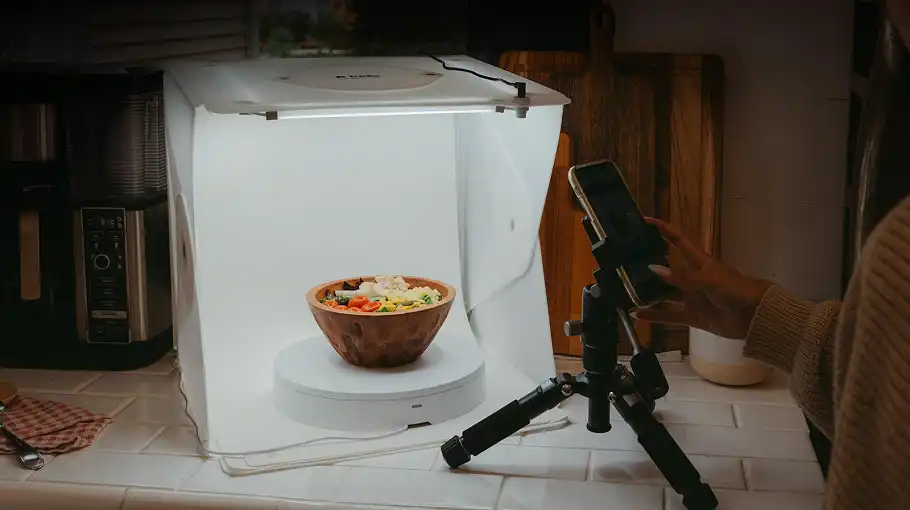
You don’t have to drop hundreds of dollars to shoot great photos. Let’s say you’re photographing handmade mugs or skincare products at home. Here’s a simple, affordable setup:
- Lighting source: Use two LED daylight-balanced bulbs (~5000K). Clip-on lamps work fine.
- Diffusion: Wax paper, white shower curtains, or tracing paper taped over the light.
- Reflector: A white cardboard or foam board to bounce light.
- Backdrop: A clean white sheet or a roll of white craft paper taped vertically and curved to create a seamless background.
- Surface: Table or elevated platform near a large window (for natural light fill).
Position one lamp at a 45-degree angle to the product and use the other light or a reflector on the opposite side to reduce shadows.
This kind of setup can easily shoot clean, bright images for Etsy, Shopify, or even Amazon product pages.
Best Practices for Lighting Setup (No Matter Your Budget)
No matter how much gear you own, your lighting needs to do a few things right:
1. Keep Light Color Consistent
If you mix warm (yellow/orange) and cool (blue) light sources, your photos will have strange tints.
Stick with daylight-balanced bulbs (~5000K to 5500K) across all lights. If you’re using natural window light, avoid adding yellow household lamps unless you’re aiming for a warm lifestyle aesthetic.
2. Keep Shadows Controlled
Shadows aren’t always bad, but harsh, distracting shadows are. Use reflectors and fill lights to soften them. If shadows are still a problem, bring your lights closer or add diffusion.
3. Use a Tripod
Lighting setup is half the equation. Stability is the other half. A shaky hand or inconsistent angles can ruin even the best lighting. Tripods help you maintain framing, focus, and sharpness.
4. Check Lighting with a Gray Card
Want your whites to be white and colors to stay true? Use a gray card during your test shots, then correct the white balance later in editing.
Common Lighting Mistakes in Product Photography (And How to Avoid Them)
Even experienced photographers make lighting mistakes that sabotage otherwise great shots.
Mistake 1: Mixing Color Temperatures
As mentioned earlier, mixing a daylight LED with a warm ceiling light leads to muddy, unnatural skin tones and product colors.
Fix: Stick to a single color temperature. Use daylight-balanced bulbs for consistency.
Mistake 2: Overexposing or Blowing Out Whites
Too much light can make white backgrounds and product highlights lose detail. That’s a nightmare for platforms like Amazon that require a pure white background (RGB 255,255,255)—but not at the expense of product clarity.
Fix: Use the histogram on your camera. Avoid pushing highlights to the extreme right. Also, shoot in RAW to recover detail if needed.
Mistake 3: Not Controlling Natural Light
Relying on sunlight alone can lead to color shifts, moving shadows, and inconsistent results throughout the day.
Fix: If using natural light, shoot during consistent hours (morning or late afternoon) and diffuse harsh sunlight with curtains or a DIY diffuser panel.
How Many Lights Do You Really Need?
A common question: Do I need three-point lighting for product photography?
Short answer: Not always.
For many e-commerce-style shots, a single light with a reflector can do the job.
But for more depth, control, and drama, a two-light setup (key + fill or key + backlight) offers versatility.
Here’s a quick breakdown:
| Setup Type | Number of Lights | Best For |
| Window + Reflector | 1 (natural) + 1 reflector | Small products, beginners, natural look |
| One Light + Reflector | 1 LED + 1 foam board | Clean product cut-outs, flat lays |
| Two-Point Lighting | 1 key + 1 fill/back | Apparel, textured products, depth control |
| Three-Point Lighting | Key + Fill + Back/Rim | Larger scenes, lifestyle + product shoots |
Bringing It All Together
Lighting isn’t just a technical decision—it’s part of your visual storytelling.
Want your soap bar to look fresh and organic? Use soft, diffused side light and a wooden backdrop.
Want your sneakers to feel edgy and bold? Try hard light from a high angle and shoot on a black surface.
The goal is not just to illuminate the product, but to make it feel tangible, as if someone can almost touch it through the screen.
Let Pixel Retouching Perfect Your Product Shots
Even with a great lighting setup, your photos might still need that final polish. That’s where Pixel Retouching’s E-Commerce Product Photo Editing comes in.
We specialize in high-end product photo editing, including:
- Removing harsh shadows and lighting inconsistencies
- Creating pure white or transparent backgrounds
- Enhancing color accuracy and texture details
- Fixing reflections, glare, and imperfections
Whether you’re shooting apparel, cosmetics, jewelry, or flat lays, we help your images look flawless and conversion-ready across Shopify, Amazon, Etsy, or TikTok.
Let your products shine. Work with Pixel Retouching today.