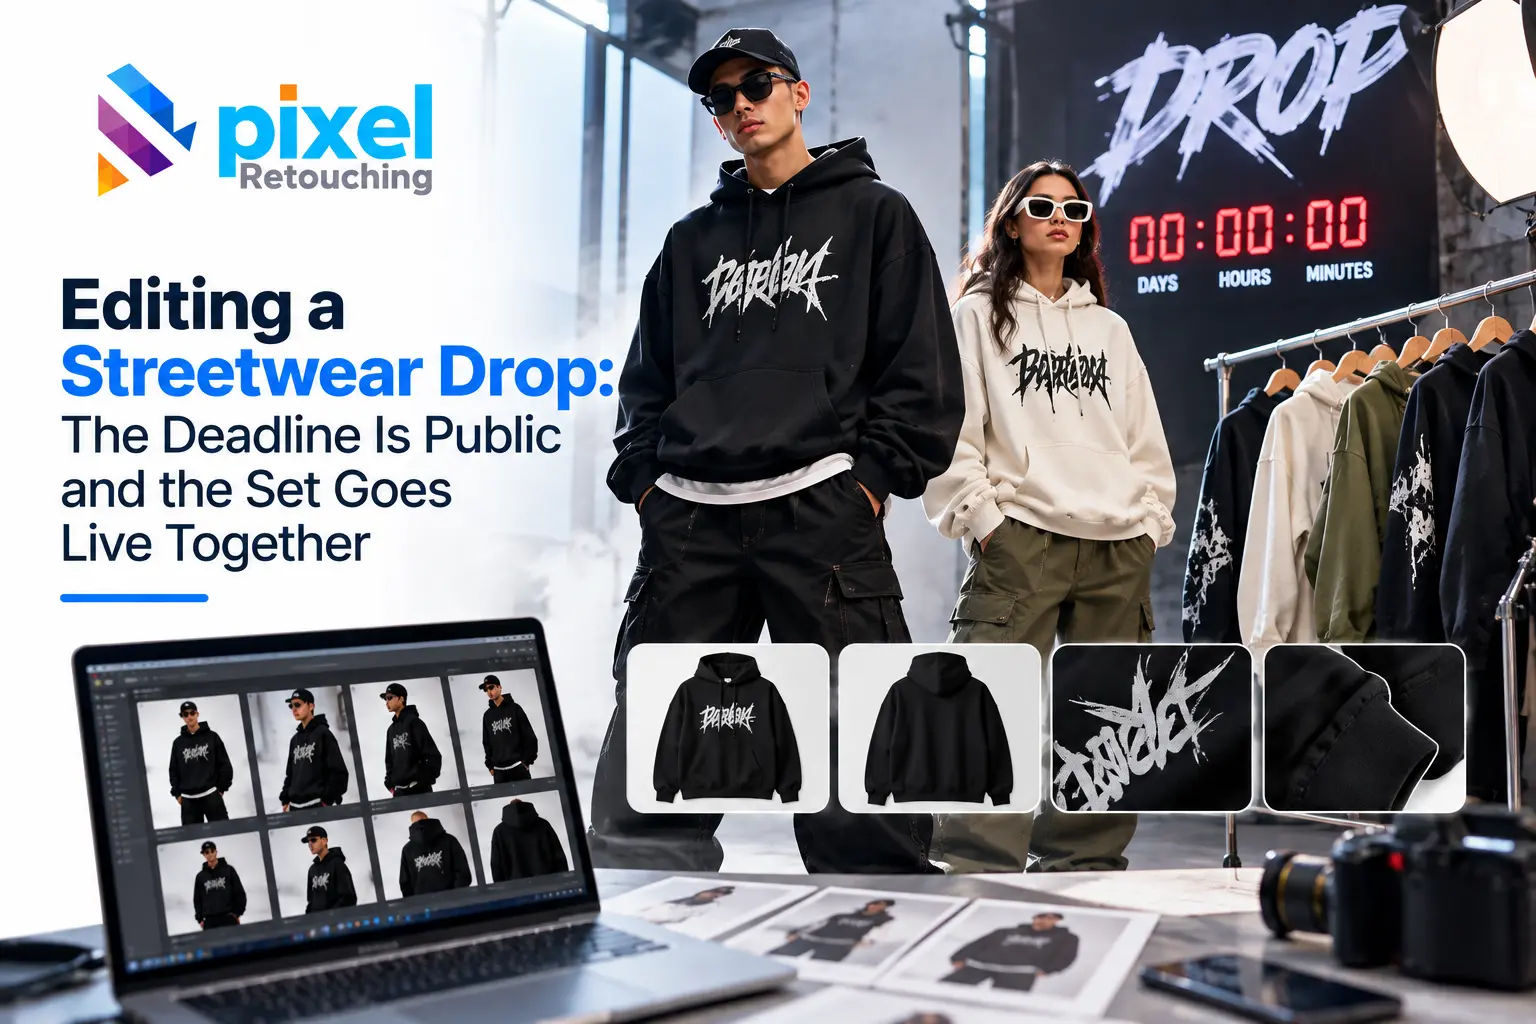
Streetwear does not sell on a rolling catalogue. It sells in drops, which means the images are not a task that can slip — they are on the critical path to a date that has already been announced.
The images here are not AI output. Every before and after is real client work retouched by hand at Pixel Retouching. Drag the handle on any of them to see what is being described.
What makes drop photography different from catalogue photography?
The deadline is external and public, and the whole set goes live at once. A catalogue can absorb one listing arriving late. A drop cannot: the piece that is not ready either delays the launch or goes up looking different from everything beside it.
That changes what “good” means. Consistency across the set matters more than excellence in any one frame, because the set is what the customer sees on launch day.
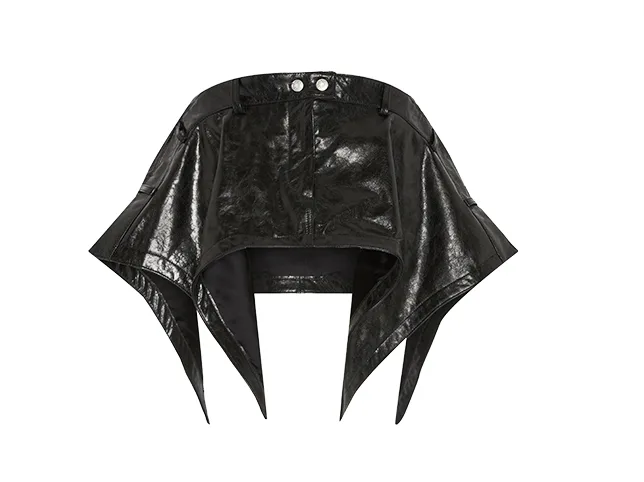
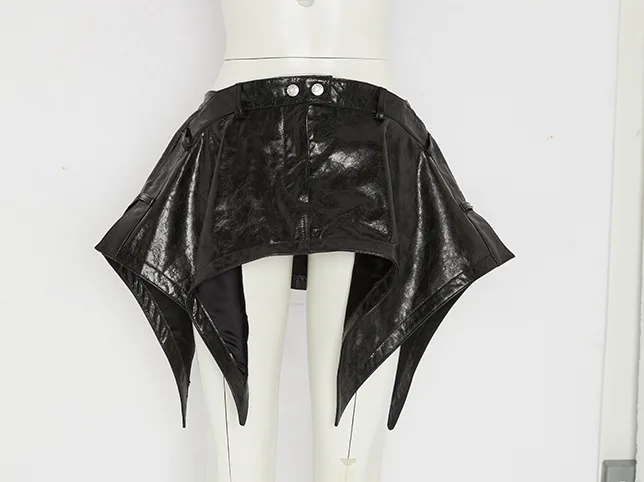
Before
After
Matched to the drop, not judged alone. Drag to compare.
How do you edit a whole drop consistently under a deadline?
Decide once and apply, rather than deciding per piece:
- Finish one piece first and approve it. That becomes the reference for the drop.
- Write the four constants down — background, product-to-frame proportion, colour treatment, shadow style.
- Send the whole drop at once, not as pieces come back from the shoot. A batch edited together is consistent; the same images sent in threes over two weeks are not.
- Review as a grid, never one at a time. The launch page is a grid.
What does streetwear need that other apparel does not?
Detail that survives the crop
The value is often in hardware, stitching, a woven label or a cuff finish — and those are exactly what a product-grid thumbnail loses. They need their own frames, and they need to stay sharp when the grid crops them.
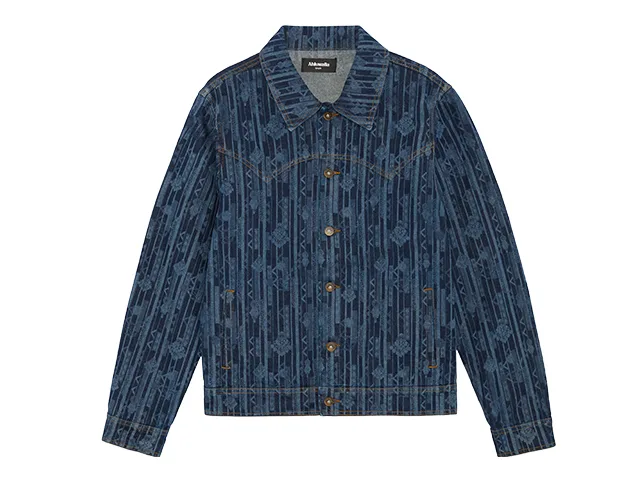

Before
After
Hardware and stitching kept legible. Drag to compare.
Weight on the page
Outerwear is heavy and should look it. A cut-out jacket with no shadow floats and reads as lightweight, which for a piece selling on substance is the wrong signal entirely.
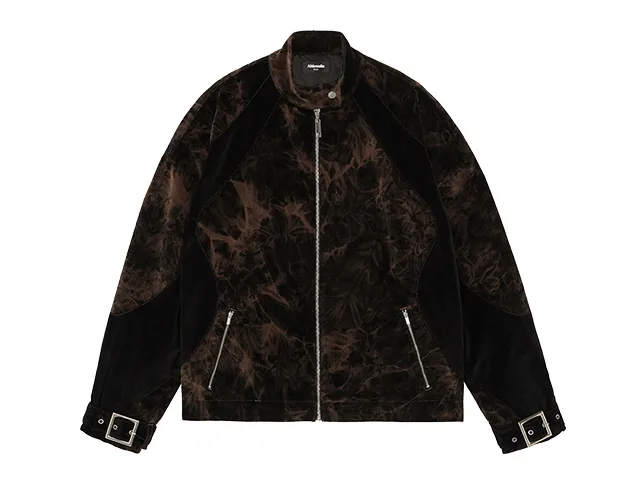

Before
After
Weight, via a shadow. Drag to compare.
Shape without a body
Oversized cuts are the point of most streetwear, and they only read when the garment holds its volume. Laid flat, an oversized hoodie just looks big; on a removed mannequin it looks cut that way deliberately.
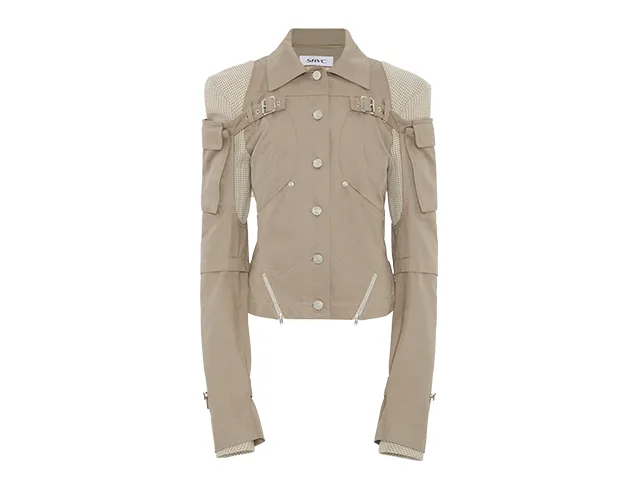
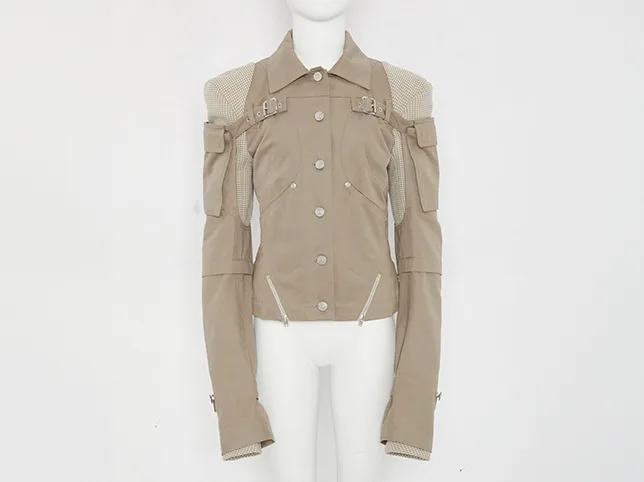
Before
After
Volume kept, mannequin removed. Drag to compare.
How do you handle colourways in a drop?
Shooting every colourway of every piece is usually what makes a drop late. Recolouring one photographed garment produces the rest with the fabric, folds and shadow intact — as long as each result matches the garment that will actually ship.

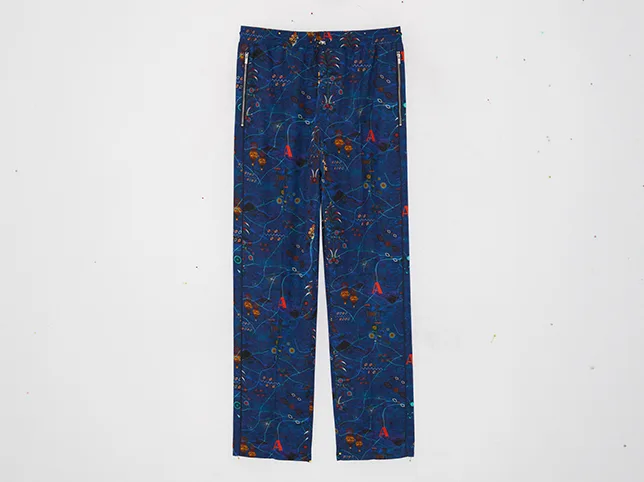
Before
After
A colourway without a second shoot. Drag to compare.
What does a drop set actually need?
Per piece, five images, all finished to the same standard before launch:
- Product grid image – cut out or on the drop’s standard background, matching every other piece.
- Back view. Streetwear graphics are frequently on the back, and a front-only listing hides half the product.
- Detail – hardware, label, stitching, print texture.
- On body, because fit and volume are the purchase decision on an oversized cut.
- Campaign or lifestyle frame, which is what goes out on social alongside the launch.
The fifth is the one that decides whether the drop looks like a brand or a stock list, and it is usually the one cut when time runs short. Shoot it first.
How do you schedule editing against a launch date?
Work backwards from the announcement, not forwards from the shoot:
- Launch date. Fixed and public.
- Minus two days: everything uploaded, live-checked on a phone, and reviewed as a grid.
- Minus four days: final images delivered. This is the buffer, and it will be used.
- Minus seven to ten days: the batch goes to editing, all of it at once.
- Minus twelve days: shoot, with the reference piece finished and approved first.
The single most common failure is sending images in instalments as they come off the shoot. It feels faster and produces an inconsistent set, because each instalment is judged against itself rather than against the drop.
What goes wrong on drops
- No approved reference before the batch starts. Everything is then a matter of opinion at the worst possible moment.
- Reviewing one image at a time. The launch page is a grid; review it as one.
- Leaving colourways to the end. They are the most likely thing to run out of time, and the easiest to produce early from an approved base image.
- Different shadow treatment between pieces, which reads as a different light and makes a set look assembled from two shoots.
Try it on three of your own
Send three listing photographs — ideally the ones you are least happy with — and we will edit them free and tell you what was holding them back.
Start a free trial — 3 images edited free. No credit card and no account required. How a drop is turned round is on streetwear brand photo editing.