Every other kind of product photography is trying to show something in its best possible condition. Vintage is the exception: the condition is the description, and a photograph that flatters it is a photograph that will be argued about.
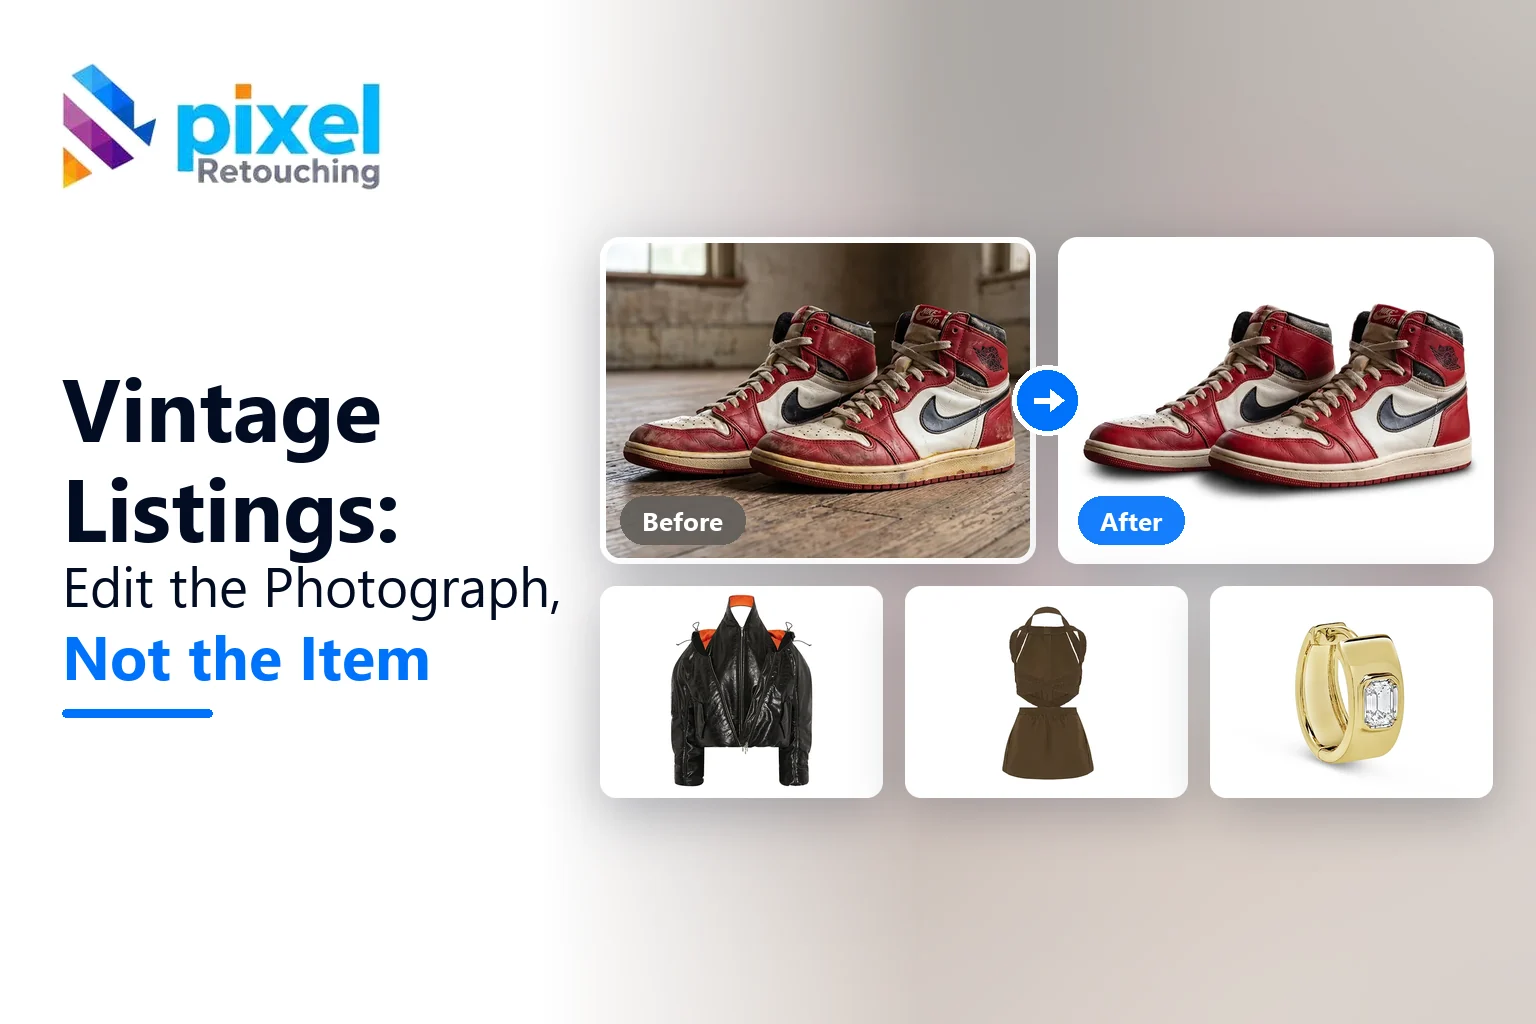
The images here are not AI output. Every before and after is real client work retouched by hand at Pixel Retouching. Drag the handle on any of them to see what is being described.
Should you edit out wear on vintage items?
No. Remove the distractions, the room, the hanger, a colour cast from a lamp, and leave the item itself alone. Patina, fading, scuffs and repairs are what the buyer is assessing, and often what they are paying for.
The distinction is simple in practice: fix what the camera got wrong; do not fix what time did.

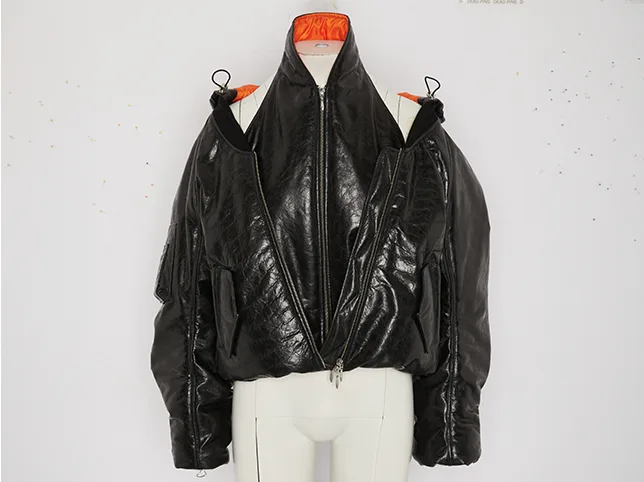
Before
After
Background cleaned, wear untouched. Drag to compare.
Why does hiding wear cost more than it earns?
Because the item still arrives as it is. A softened scuff converts the listing and then produces a dispute, a return, return shipping on a one-of-one item you now have to relist, and a rating that follows you.
Vintage buyers are also unusually well informed. Someone who can identify a decade from a zip pull can tell when a photograph has been smoothed, and the reaction is not “nice photo”: it is “what else is being hidden”.

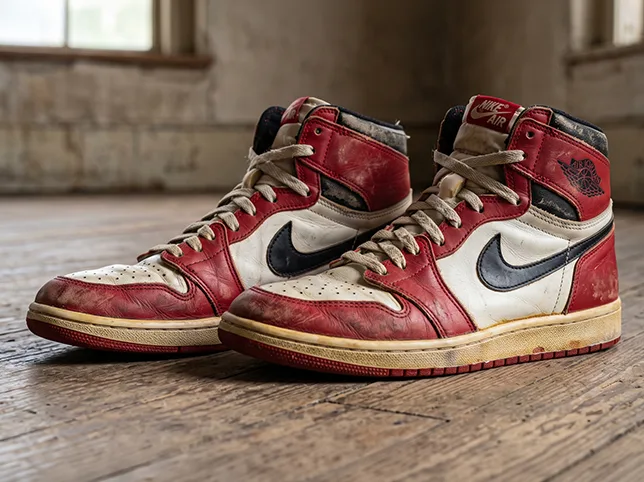
Before
After
Listed as what they are. Drag to compare.
What is fair to edit?
- The background. Nobody is buying your floor.
- Colour. Correcting a warm indoor cast is restoring the truth, not altering it.
- Exposure. Recovering detail that the camera lost.
- Framing. Straightening and cropping to a consistent size.
- Dust and lint picked up in storage, not part of the item’s condition.
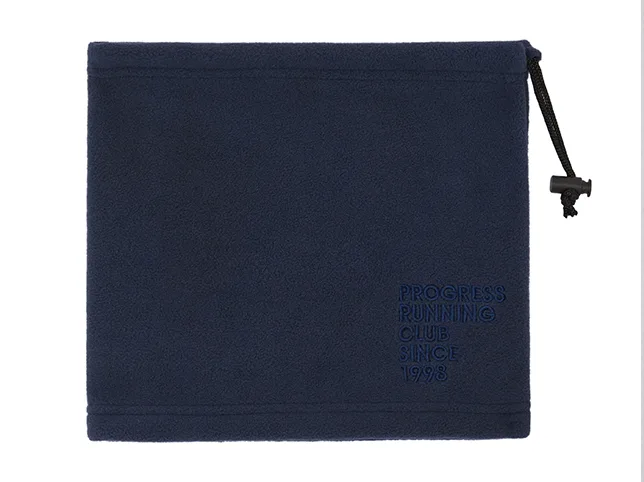
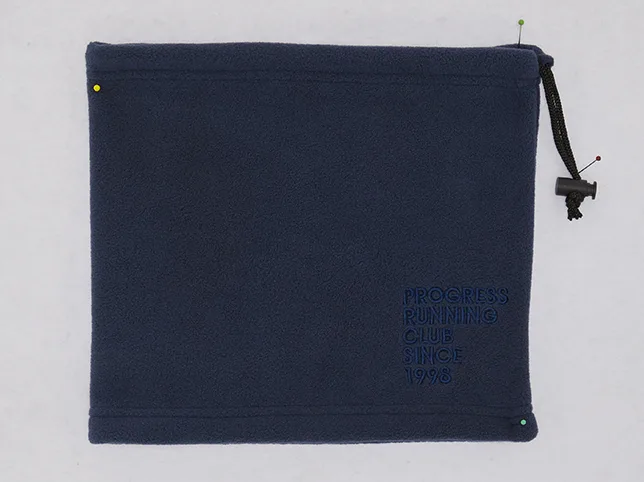
Before
After
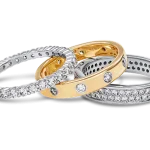
Background gone, item exactly as it is. Drag to compare.
Why is colour the hardest part of vintage?
Because faded and aged colours have no reference. A modern garment can be matched to a swatch; a fifty-year-old brown has faded to a shade that exists only on that item. Photographed under a warm bulb it shifts again, and the buyer has no way to tell which version is real.
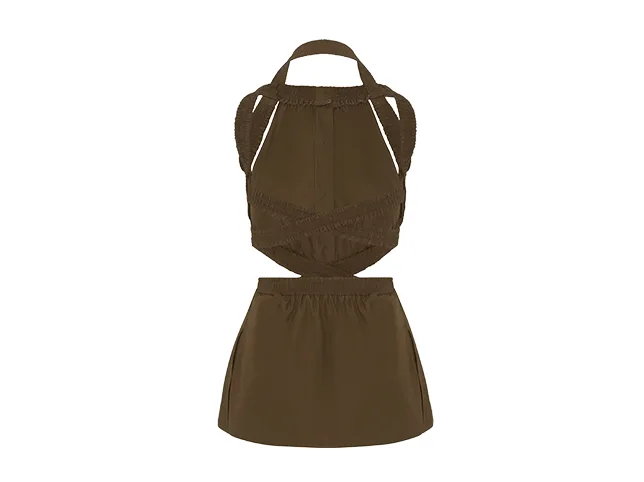
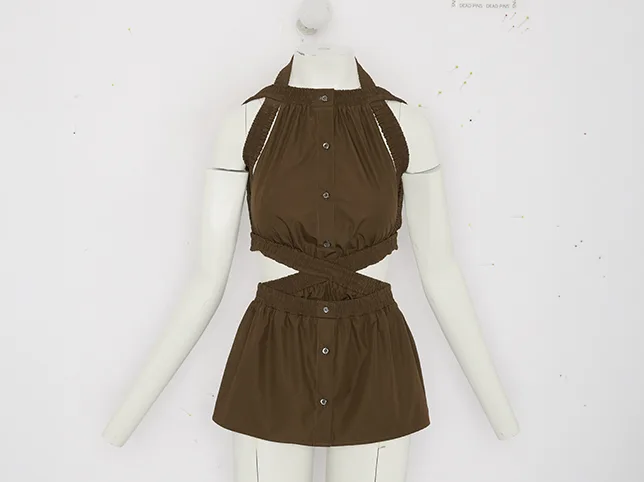
Before
After
Corrected to the real shade, not an idealised one. Drag to compare.
Correct against the item in daylight and say so in the listing. Colour correction here is a returns-prevention measure rather than a cosmetic one.
How do you photograph condition properly?
Give every flaw its own frame, close, in focus, with something for scale. Then describe it in the caption. A listing with five wear shots and an honest description sells slower and disputes almost never, and on a platform where your rating is your business, that is the trade worth making.
Small items need the same discipline at zoom, where a phone photograph usually falls apart.
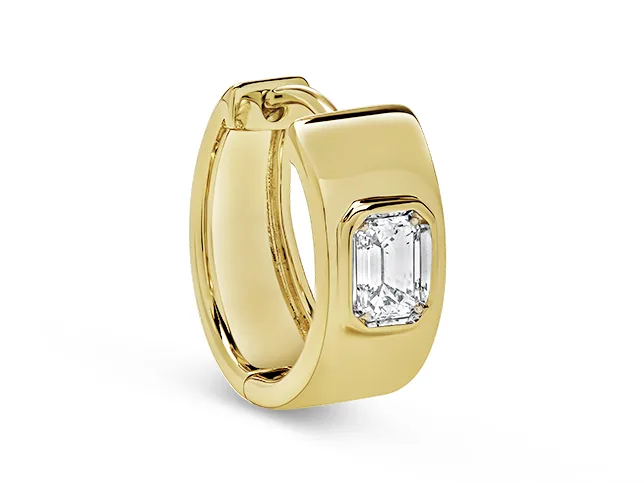
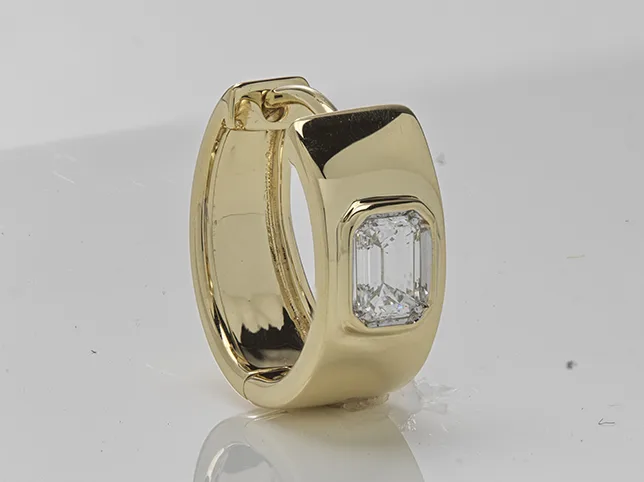
Before
After
Sharp at the zoom a buyer will actually use. Drag to compare.
Does consistency matter when every item is different?
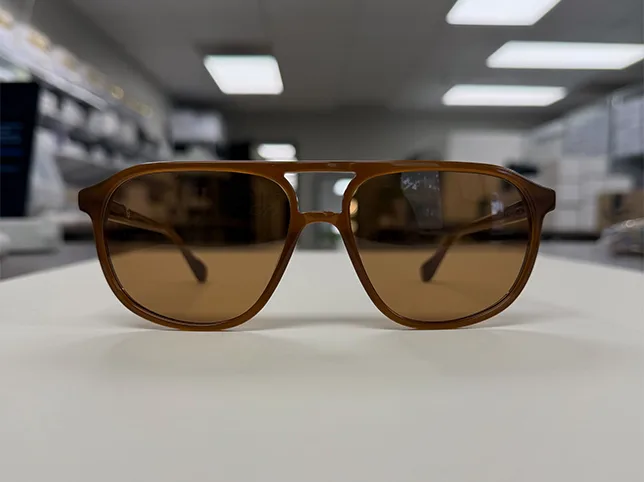
More than you would think. The items cannot match, so the only thing that can is the frame: same background, same proportion, same light. That is what makes a shop of unrelated one-offs look curated instead of accumulated.

Before
After
One frame standard across unrelated items. Drag to compare.
What does a vintage listing need to show?
- Full item, front, clean background, straight on.
- Full item, back.
- The label – brand, and the union or care label where it exists. On vintage this also dates the piece, and informed buyers read it before anything else.
- Measurements laid out, photographed with a tape. Vintage sizing does not match modern sizing and the label number is close to meaningless.
- Fabric or construction detail – weave, lining, stitching, hardware.
- Every flaw, one frame each, close, with scale.
- Worn or styled, so the drape is visible.
The measurement shot is the one that separates experienced vintage sellers from new ones. It prevents the commonest return reason on the category, and it takes a minute.
How do you photograph wear so it is clear rather than ugly?
Honest does not have to mean unflattering. The aim is that the buyer sees exactly what the flaw is, not that the listing looks damaged:
- Light it evenly. A raking light exaggerates every mark; flat, diffuse light shows the true extent.
- Frame it with context. A scuff photographed in isolation looks catastrophic; the same scuff with the surrounding panel visible reads as what it is.
- Include something for scale – a coin, a finger, a tape.
- Describe it in the caption rather than leaving the photograph to argue for itself.
Do not brighten the flaw frames more than the rest of the set, and do not darken them either. Both read as manipulation to a buyer who is looking closely.
What is worth the time on a one-of-one item?
The same economics as any resale, with one difference: vintage items often carry higher prices, which justifies more work per listing.
- Always: background, colour, straightening, and sharp flaw frames.
- Worth it above a certain value: proper cut-outs, an on-body shot, a full measurement set.
- Rarely worth it: compositing, background replacement with a scene, anything that takes the item further from what it is.
The honest test for any edit on vintage: would you be comfortable showing the buyer the original file alongside the edited one? On this category more than any other, the answer decides it.
Try it on three of your own
Send three listing photographs, ideally the ones you are least happy with, and we will edit them free and tell you what was holding them back.
Start a free trial: 3 images edited free. No credit card and no account required. How a vintage batch is handled is on vintage reseller photo editing.