A shirt photographed badly looks cheap, even when the shirt isn’t. Menswear is unforgiving that way. Customers can’t try anything on, so every image has to answer the same three questions: how does it fit, what is the fabric like, and is the colour true?
This guide covers menswear product photography best practices from first plan to final file. You’ll find lighting, camera settings, backgrounds, garment prep, shots for each type of clothing, ghost mannequin and on-model photography, retouching and a full checklist. It applies to shirts, suits, jackets, denim, knitwear, footwear and accessories, whether you shoot with a studio setup or a smartphone.
Short answer: shoot every garment the same way. Use soft, even light, a plain background, a locked camera position and a fixed shot list. Prepare the clothing so it holds its shape, show fit with a model or ghost mannequin, keep colour true, and retouch lightly. Consistency sells more than any single beautiful shot.
In This Guide
- What makes menswear photography different
- Plan the shoot and choose a method
- Camera, lens and settings
- Lighting for menswear
- Backgrounds
- Garment prep and styling
- How to photograph each type of menswear
- On-model photography for menswear
- The shots every product needs
- Showing fit and size
- Colour accuracy
- Retouching menswear photos
- Common mistakes
- Menswear product photography checklist
- FAQs
What Makes Menswear Photography Different
Menswear looks simple. Fewer colours, fewer prints, cleaner lines. That’s exactly why mistakes show.
Structure matters. A blazer’s shoulders, a shirt’s collar and a trouser crease are all straight lines. If they’re off by a few degrees, the garment looks badly made.
Dark colours hide detail. Black, navy and charcoal dominate men’s wardrobes. They swallow light, so stitching, texture and pocket shapes disappear unless you light for them.
Fit sells the product. Men tend to shop quickly and by size. Clear images of the cut, length and drape do more than long descriptions.
Buyers expect consistency. A collection page where every shirt is a different size, angle and shade looks like a market stall. It’s one of the quickest ways to lose trust. We cover the grid problem in why your Shopify collection page looks amateur.
Plan the Shoot Before You Touch the Camera
Good menswear photography starts with decisions, not gear. Make four of them first.
- Pick one presentation method for each product type and stick with it.
- Write a one-page style guide: background colour, crop, angle, spacing, shadow style and file size.
- Build a shot list for each category (see the list further down).
- Group by garment type and colour. Light once, shoot many. Changing the setup between every item is where inconsistency starts.
Which method should you use?
| Method | Best for | Watch out for |
|---|---|---|
| Flat lay | T-shirts, knitwear, polos, small catalogues | Looks flat; shows no fit |
| Hanger or hanging shot | Shirts, jackets, fast turnaround | Visible hanger, creases, uneven drape |
| Mannequin or ghost mannequin | Shirts, jackets, hoodies, suits, trousers | Needs editing to remove the form |
| On-model | Lookbooks, fit-led and premium brands | Cost, model size, consistency across sizes |
Most menswear stores combine two: a clean product image for the grid (ghost mannequin or flat lay) and an on-model image for fit and mood. Our guide to on-model, flat lay or ghost mannequin helps you choose, and lookbook vs listing images explains why one shoot often needs two finishes.
Camera, Lens and Settings for Menswear
You don’t need a cinema rig. You need a camera you can lock down and settings you can repeat.
- Camera: any DSLR or mirrorless that shoots RAW. A recent smartphone works for budget shoots (see below).
- Lens: a 70-105mm lens on full frame (about 50-70mm on APS-C) keeps proportions natural. Wide lenses stretch sleeves and trouser legs. Our guide to the best lens for clothing product photography goes deeper.
- Tripod: non-negotiable. A fixed position makes every image the same size and angle.
- Tethering: shooting straight to a laptop lets you check detail and colour as you go.
- Grey card or colour checker: for repeatable white balance.
Starting camera settings
| Setting | Start with | Why |
|---|---|---|
| Aperture | f/8 to f/11 | Keeps the whole garment sharp, from collar to hem |
| ISO | 100 to 200 | Clean fabric texture, no noise in dark colours |
| Shutter speed | 1/125 with strobes; slower on a tripod with continuous light | Sharp image without motion blur |
| White balance | Custom or grey card | True colour, same in every image |
| File format | RAW | More room to fix colour and exposure |
| Distance | Marked on the floor | Same product scale every time |
For the full gear picture, see our guide to product photography equipment.
Lighting for Menswear Product Photography
Fabric needs soft, even light. Hard light makes creases, stitching and weave look rough.
- Two softboxes at 45 degrees on each side of the garment is the standard starting point. Equal power on both sides avoids a lit-up side.
- A large light source is gentler than a small one. Bigger softboxes or diffused window light work best.
- Add a fill card or reflector in front to lift shadows in the chest area and under collars.
- Keep the light the same height across the shoot, so shadow length matches.
Dark clothing: light from slightly to the side to catch the texture and stitching. Check the histogram so you don’t underexpose, and avoid raising shadows later, which adds noise. Choose a mid-grey or light background so the outline doesn’t disappear.
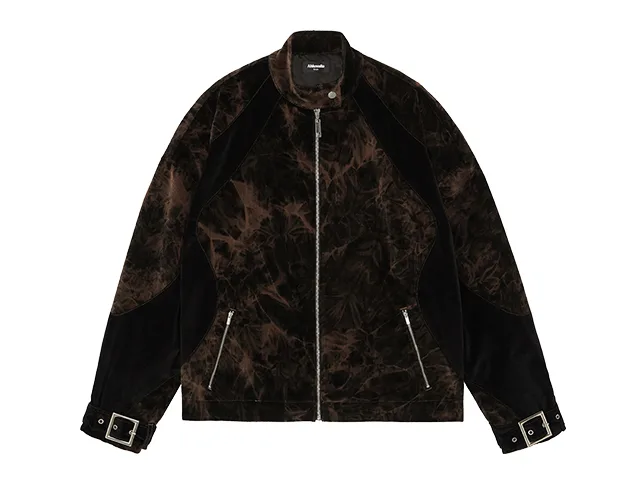
Leather and shiny fabrics: use large, diffused light and a flag to control reflections. Leather jackets pick up studio lights like a mirror.
White and light colours: watch the highlights. If the shirt is blown out, no editing will bring the weave back.
More setups are in our product photography lighting setup guide.
Backgrounds That Work for Menswear
- Pure white (RGB 255, 255, 255) is the marketplace standard and the safest choice for most stores. It’s also what Amazon expects for main images.
- Light grey is a good option for white and cream garments that would disappear on white.
- Brand colours or textures suit lookbooks and social images, not product grids.
- Keep it identical across a collection. A changing background shade is the most visible kind of inconsistency.
Many brands shoot on a grey or paper backdrop and replace it with pure white during editing, which is faster than lighting a perfect white. That’s where background removal comes in.
Garment Prep and Styling
Photographing the garment is the easy part. Preparing it is where good images are made.
- Steam or iron everything. Wrinkles in a photo look worse than in real life. Don’t rely on editing for deep creases.
- Remove lint, dust and pet hair with a roller. Dark fabrics show everything.
- Remove tags, stickers and pins except the ones you want visible.
- Use clips or pins at the back to pull the garment close to the form, which is how a good fit is shown on a mannequin.
- Add shape: tissue or inserts in sleeves, shoulders and shoes, and inflated filler in puffers.
- Button and zip with intent. Close the top button of a shirt for a collar shot. Zip jackets partway. Do the same for every item of that type.
How to Photograph Each Type of Menswear
Shirts and polos
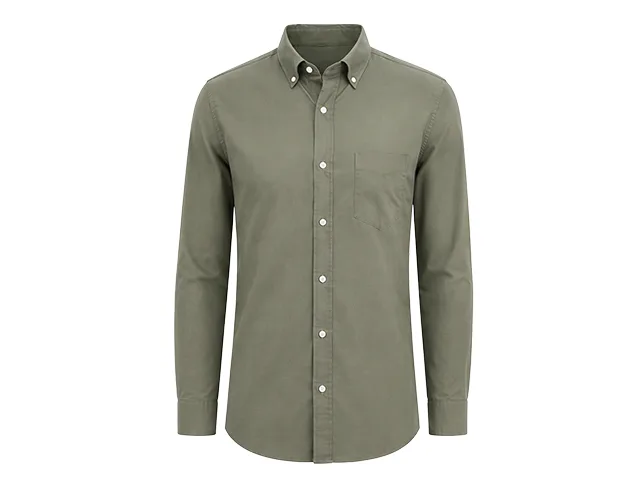
The collar and placket make the shirt. Get the collar stand upright and symmetrical, keep the button line straight, and show the cuffs. Use collar stays or tissue for shape. If you photograph on a mannequin, shoot a second image of the inside of the neck so it can be joined later (the ghost mannequin technique).
T-shirts and hoodies
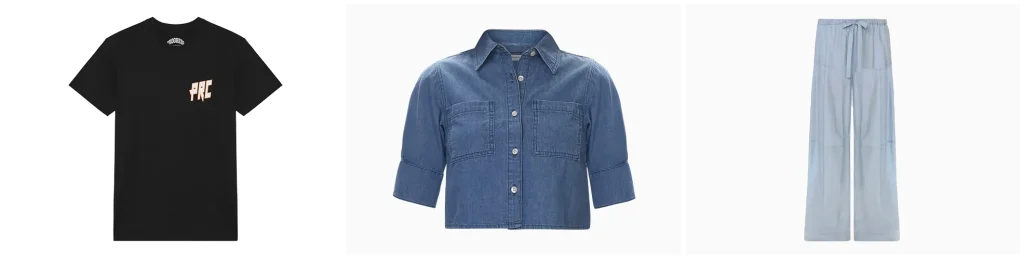
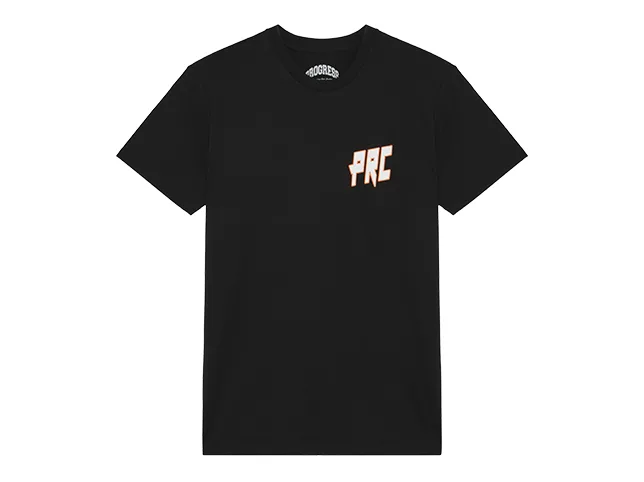
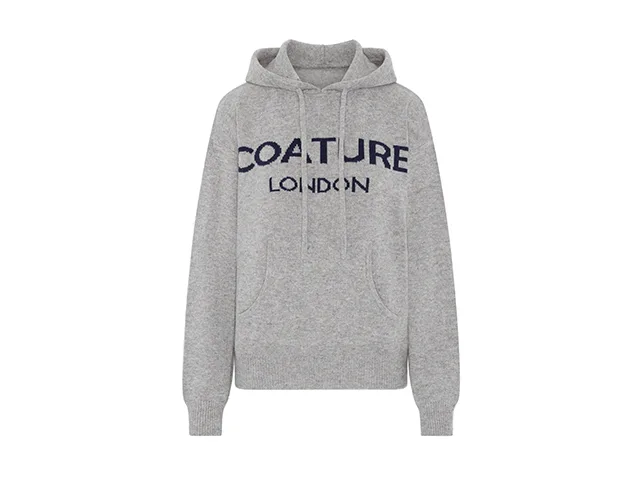
Check that sleeves are symmetrical and the print sits centred. For flat lays, smooth the fabric from the centre outwards and avoid stretching the neckline. Hoodies need the drawcords straight and the hood shaped with tissue. Our guide to t-shirt product photography ideas has more setups.
Suits and blazers
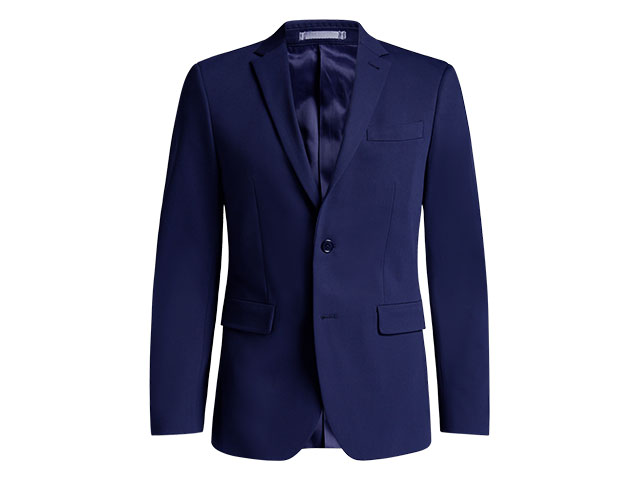
Tailoring needs structure. Use a proper suit mannequin or a good hanger, so the shoulders sit square and the lapels roll naturally. Button the top button of a two-button jacket and show pocket flaps out. Press the trousers and fold or hang them along the crease. Shoot the lining and label as detail images. Tailored pieces often use the neck joint service to join the collar area cleanly.
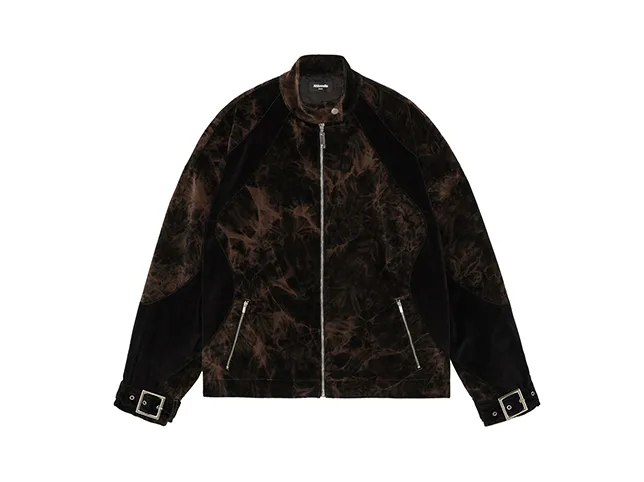
Jackets and coats
Zip or button partway, shape the sleeves, and keep the hood or collar in a natural position. Puffers need filling so they don’t look deflated. Show a lining shot, since it signals quality and warmth. Leather needs soft, large light to avoid hot spots.
Knitwear
Never hang a sweater on a hanger, because it stretches and leaves shoulder bumps. Lay it flat or fold it, lint-roll it and light it from a slight angle to bring out the knit. Close-ups of the stitch show quality.
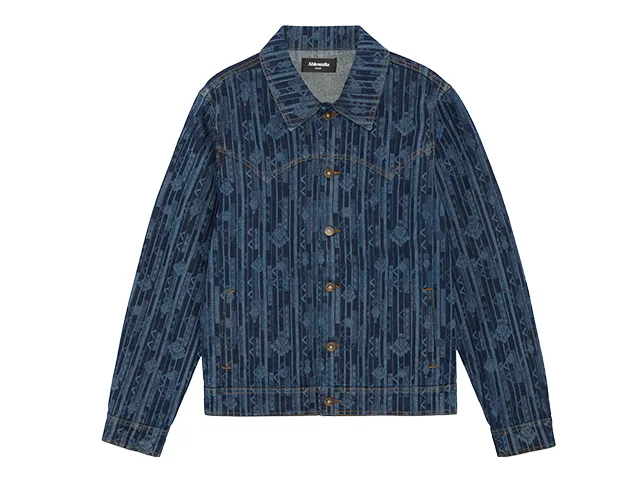
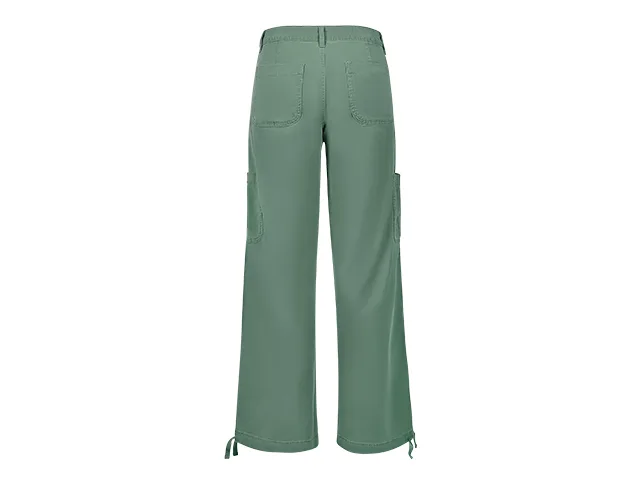
Denim and trousers
Show the waistband, pockets and fly. Hang or fold along the crease and keep the legs straight. Denim washes vary, so colour and fading must look like the real product. Close-ups of stitching, rivets and fabric texture work well.
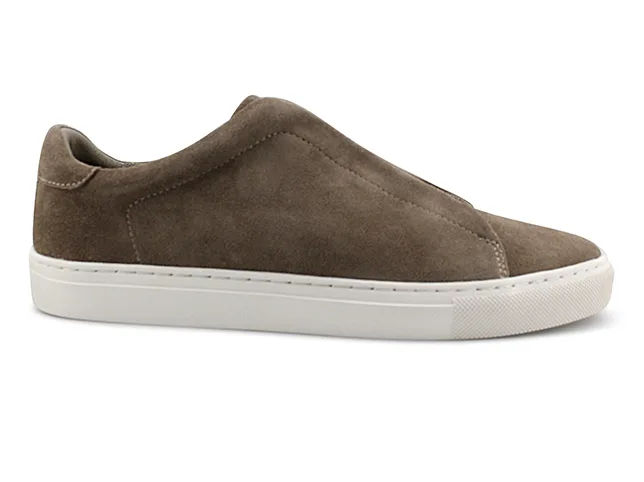
Footwear
Stuff shoes so they hold their shape, tie the laces neatly and clean the soles. Shoot a three-quarter hero angle, side, top, back and sole. Suede needs the nap kept, and leather needs controlled highlights. More in our footwear photography guide.
Watches and accessories
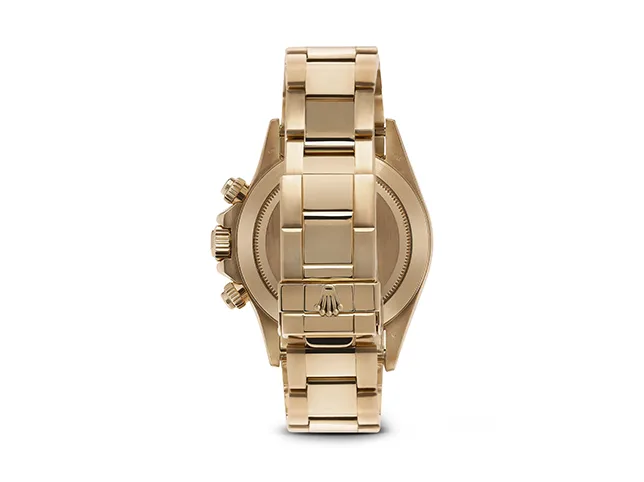
Watches need careful reflection control: the dial, bezel and bracelet are all mirrors. Belts look best coiled or laid flat, ties rolled or flat with a visible knot, and caps stuffed to keep their crown. Wallets work well open and closed. See our notes on watch photo retouching for reflection work.

Underwear, socks and basics
Basics sell in multipacks, so show the pack, then each item flat or on a form. Keep the folding identical so the grid reads as a set. Show waistbands and fabric detail up close.
Flat Lay and Folded Shots
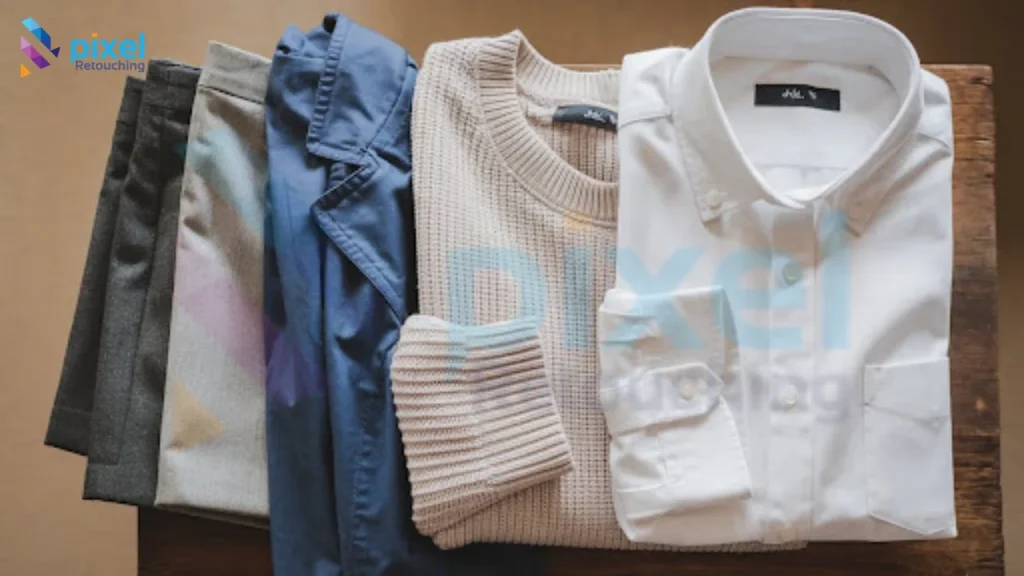
Flat lays are quick and affordable, and ideal for tees, knitwear and basics. Shoot from directly above, use a clean surface, keep the garment square to the frame, and match every fold. Use clips behind the garment and tissue inside to avoid a flat, lifeless look. Our flat lay clothing photography guide has more.
Ghost Mannequin for Menswear
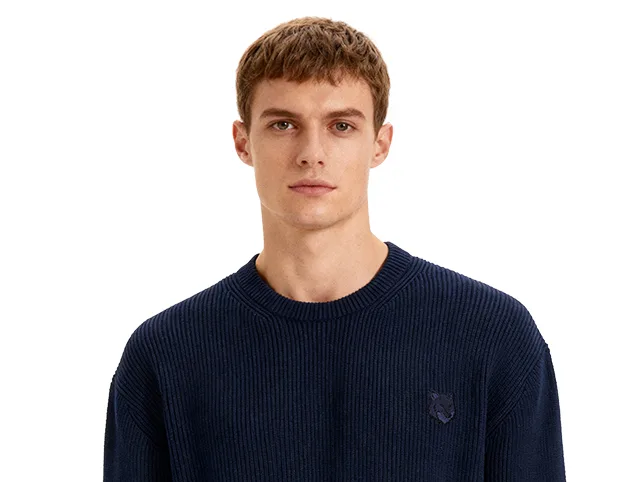
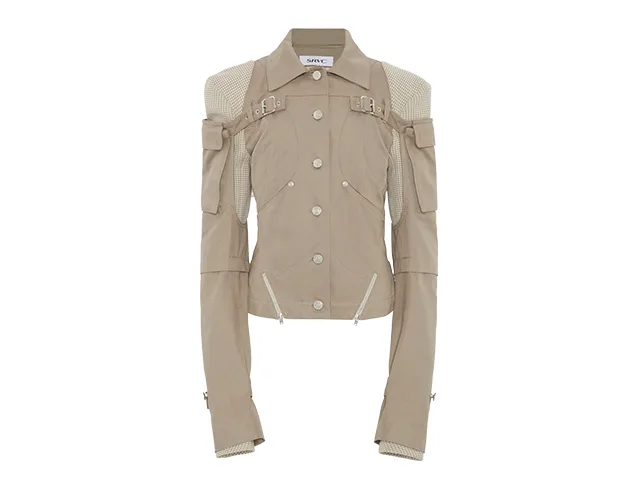
A ghost mannequin (also called an invisible mannequin) shows the shape of a garment as if it were worn, without the person or the form. It’s the standard for shirts, jackets, hoodies and suits on product grids.
- Dress the garment on a mannequin and clamp it for a good fit.
- Shoot the front and back with fixed lighting.
- Remove the garment, shoot the inside neck, and the inside back if visible.
- Composite the images in editing, so the interior of the collar shows and the mannequin disappears.
It takes planning at the shoot, and careful retouching afterwards. If you’re new to it, read our ghost mannequin photography guide and how to photograph clothing on a mannequin. No mannequin? See how to take pictures of clothes without a mannequin. When volume is high, many brands send these files to a specialist ghost mannequin service.
On-Model Photography for Menswear
On-model images show how clothing really sits, moves and fits, so they carry mood and trust. They also add cost and complexity, so plan them carefully.
Casting and fit
- Cast a model whose measurements match your sample size, usually a medium.
- Record the model’s height and the size worn, and add it to the product page.
- If you sell a wide range, consider showing two body types.
Styling
- Keep the outfit simple, so the product is the hero. Plain trousers for shirts, plain tops for jackets.
- Steam and clip the garment for a clean fit at the back.
- Avoid distracting accessories and logos that aren’t yours.
Poses that work for menswear
- Standing neutral: arms relaxed at the sides, the safest pose for product pages.
- Hands in pockets: shows pocket depth and trouser fit.
- Walking: shows drape and movement for coats and tailoring.
- Arms slightly away from the body: shows the sides of a jacket or the sleeve line.
- Seated or leaning: for lookbooks, not for product pages.
Make sure hands, bags and props never cover the logo, pockets or waistline. Keep poses and framing the same across a collection. For brands that need both finishes, our guide on lookbook vs listing images explains the split.
The Shots Every Menswear Product Needs
Most successful menswear listings use 5 to 9 images. Build the same list for each product type.
- Front: the main image, clean background, whole garment.
- Back: buyers check backs for prints, vents and pockets.
- Side or three-quarter: shows shape and length.
- Collar or neckline detail.
- Cuff, hem or pocket detail.
- Fabric close-up: texture, weave, print.
- Label or inside: lining, brand tag, care label.
- On-model full length and a close-up.
- Optional: a short video or 360-degree view for key items.
Showing Fit and Size
Returns in clothing often come from fit, not quality. Your photos can reduce them.
- Add the model’s height and size worn to the caption.
- Show garment measurements (chest, length, sleeve, waist) in a size chart next to the images.
- Use a flat image with measurement lines for key items like jackets and trousers.
- Show the garment in the same scale across sizes, so customers can compare.
- Describe fit in plain words: slim, regular, relaxed, oversized.
Colour Accuracy
A wrong colour is the second-biggest reason clothing is returned. Navy that looks black or olive that looks grey is a refund waiting to happen.
- Set a custom white balance with a grey card at the start of every session and whenever light changes.
- Shoot RAW and work in sRGB for web delivery.
- Use a calibrated monitor and compare the screen to the real garment.
- Don’t push saturation to make a product pop. The customer’s expectation is the real garment.
- For colourways, don’t reshoot every shade. Photograph one colour, and recolour the rest in editing. See our colour change service and colour correction service.

Retouching Menswear Photos
Even a careful shoot needs post-production. The goal is a clean, honest product, not a perfect one that doesn’t exist.
What to fix
- Dust, lint, loose threads and marks.
- Distracting creases that steaming missed. Relax them, don’t erase the fabric’s character.
- Mannequin removal and neck joins for ghost mannequin images.
- Straightening: plackets, hems, collars and shoulders.
- Background cleaning or replacement to pure white.
- Natural shadows, so the garment doesn’t float.
- Colour and white balance matching across the set.
- Consistent crop, centring and size.
What not to touch
- Don’t smooth the weave, grain or texture of the fabric.
- Don’t change proportions, length or fit.
- Don’t alter the colour, print or logo.
- On vintage and resale pieces, leave wear visible. Hiding it leads to complaints and returns.

Our product photo retouching checklist covers the editing side in detail. For high volumes, a team that does this daily is quicker and more consistent than editing in-house. Our apparel photo editing service covers cut-outs, ghost mannequin, shadows and colour from $0.39 per image for standard eCommerce edits, and you can try three images free.
Shooting Menswear on a Budget
A smartphone, a window and a few cheap tools can give good results.
- Shoot by a large window in indirect daylight, with a white sheet as a diffuser.
- Use a tripod or a stack of books and keep the phone at the same height.
- Use a white or grey backdrop, and a steamer for the clothes.
- Turn off filters and HDR, and lock exposure and focus.
- Edit in a batch so every image gets the same treatment.
See clothing photography ideas at home with your smartphone for more.
Where Does AI Fit?
AI tools can speed up simple work, such as backgrounds and quick variants. They struggle with exact colour, prints, logos, stitching and how fabric hangs, which are the things menswear buyers check. Use them for drafts and social content, and check the results at full size. We explain the limits in our AI prompts for clothing brands guide.
Common Menswear Photography Mistakes
- Different angles and sizes in one collection. Fix: marked camera and garment positions.
- Wrinkled garments. Fix: steam before every shot.
- Black clothes with no detail. Fix: side light and a lighter background.
- Hangers or mannequins left visible. Fix: ghost mannequin editing.
- Wide-angle lenses. Fix: 70-105mm for natural proportions.
- Colour drift between sessions. Fix: custom white balance and a grey card.
- Over-retouched fabric. Fix: keep texture, relax creases only.
- No size information. Fix: model stats and a size chart.
- Floating garments. Fix: a soft, natural shadow.
Menswear Product Photography Checklist
Print this or copy it into your shoot plan.
Before the shoot
- ☐ Presentation method chosen for each product type
- ☐ Style guide written: background, crop, angle, shadow, file size
- ☐ Shot list ready for each category
- ☐ Garments grouped by type and colour
- ☐ Model booked and sizes confirmed (if shooting on-model)
Garment prep
- ☐ Steamed or ironed
- ☐ Lint and dust removed
- ☐ Tags, pins and stickers removed
- ☐ Shape added: tissue, inserts, filler
- ☐ Buttons and zips set the same way for each item
Camera and lighting
- ☐ Camera on a tripod, position marked
- ☐ Lens 70-105mm (full frame) or equivalent
- ☐ f/8 to f/11, ISO 100 to 200, RAW
- ☐ Custom white balance set with a grey card
- ☐ Soft, even light on both sides, reflections controlled
- ☐ Histogram checked on dark and white garments
Shots
- ☐ Front, back and side
- ☐ Collar or neckline detail
- ☐ Cuff, hem or pocket detail
- ☐ Fabric close-up
- ☐ Label or inside shot
- ☐ Inside neck shot for ghost mannequin
- ☐ On-model full length and close-up
Post-production
- ☐ Dust, lint and threads removed
- ☐ Creases relaxed, texture kept
- ☐ Mannequin removed and neck joined
- ☐ Background cleaned or set to white
- ☐ Natural shadow added
- ☐ Colour checked against the real garment
- ☐ Same crop, size and centring across the set
Before you publish
- ☐ Model height and size worn added
- ☐ Size chart added
Frequently Asked Questions
What are the best practices for menswear product photography?
Use soft, even lighting, a plain background, a fixed camera position and the same shot list for every garment. Steam clothing before shooting, shape it properly, keep colour true and retouch lightly. Show fit with a model or ghost mannequin, and add size information.
How do you photograph men’s clothing for an online store?
Prepare and steam the garment, shoot it on a mannequin, flat lay or model, and light it softly from both sides. Capture front, back, side and detail shots, then edit for dust, background and colour. Keep every image the same size and angle.
What is the best background for menswear photography?
Pure white is the best default for product pages and marketplaces. Light grey works for white garments. Use coloured or textured backgrounds only for lookbooks and social posts, and keep the same one across a collection.
What camera settings should I use for clothing photography?
Start at f/8 to f/11, ISO 100 to 200, RAW format and a custom white balance. Use a tripod and a 70-105mm lens on full frame. Adjust shutter speed to your lighting.
How many photos does a menswear product need?
Between 5 and 9 images is typical: front, back, side, two or three detail shots, a fabric close-up and an on-model view. Add a video or 360 view for key products.
Is ghost mannequin or on-model better for menswear?
Neither wins every time. Ghost mannequin gives clean, consistent grid images at a lower cost. On-model shows fit, movement and style. Many brands use ghost mannequin for the grid and on-model for the product page and lookbook.
How do you photograph black clothing?
Light from slightly to the side to bring out texture and stitching, use a mid-grey or light background, and shoot RAW. Check the histogram so you don’t underexpose, and keep detail shots of fabric and seams.
How do you photograph a suit or blazer?
Use a suit mannequin or a good hanger so the shoulders sit square, button the top button, show pocket flaps, and light evenly. Photograph the trousers separately along the crease. Add detail shots of the lining, label and lapels.
How do you photograph shirts without wrinkles?
Steam the shirt, then pin or clamp it at the back for a smooth front. Shoot soon after steaming. Light softly from both sides so remaining creases don’t cast harsh shadows, and relax small ones in editing.
How do you show fit in menswear product photos?
Use a model or ghost mannequin, add the model’s height and size worn, include a size chart with measurements, and describe the fit in simple words such as slim, regular or relaxed.
Can I photograph menswear with a smartphone?
Yes. Use window light with a diffuser, a tripod, a plain backdrop and a steamer. Lock exposure and focus, and edit every image the same way. Quality is good enough for most online stores.
How much does menswear product photo editing cost?
Prices depend on the edit and the volume. At Pixel Retouching, standard eCommerce editing starts from $0.39 per image, and ghost mannequin editing from about $0.99 per image. Bulk discounts and a free three-image trial are available.
Conclusion
Menswear photography rewards discipline. Pick a method, write the style guide, prepare the garments, light them softly and keep every image identical in size, angle and colour. Then retouch only what needs fixing.
Do that, and your catalogue will look like one brand, not a pile of photos. Buyers will trust the fit and the colour, and fewer items will come back. If you’d rather hand the editing to a team, send three of your menswear photos through the free trial. A retoucher edits them by hand and returns them within 24 hours.